Yes, you can use infusible ink on wood to create stunning and vibrant designs. Infusible ink is a heat transfer process that permanently infuses the ink into the surface of the wood, resulting in a smooth and durable finish. With infusible ink, you can personalize wooden signs, plaques, and other wooden crafts with intricate and detailed designs without worrying about the design peeling or fading over time. Whether you’re a DIY enthusiast or a professional crafter, infusible ink opens up a whole new world of creative possibilities on wood.

Step-by-Step Tutorial: Applying Infusible Ink on Wood
If you’re a crafting enthusiast looking to expand your creative horizons, using infusible ink on wood can be a fascinating and rewarding project. Infusible ink is a special type of heat-transfer material that creates vivid and permanent designs on various surfaces, including wood. In this tutorial, we will guide you through the process of applying infusible ink on wood, step by step.

Materials You’ll Need:
- Wooden surface (such as a plaque or coaster)
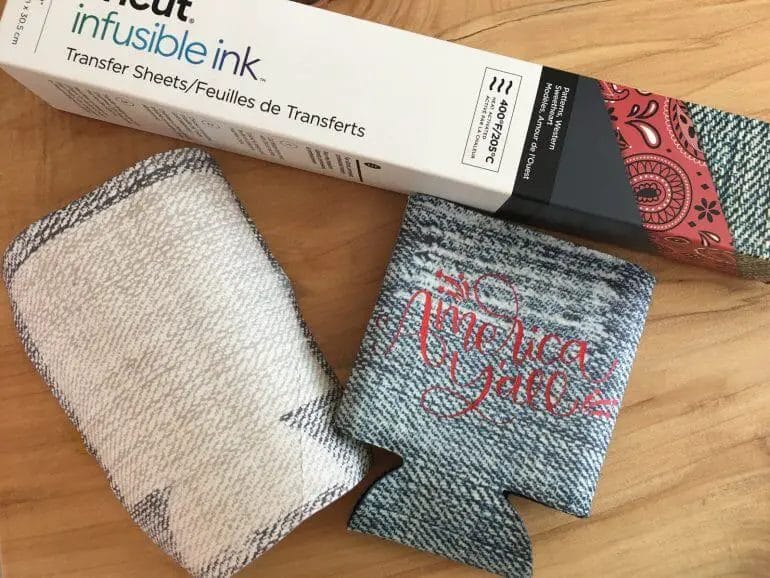
- Infusible ink transfer sheet
- Heat-resistant tape
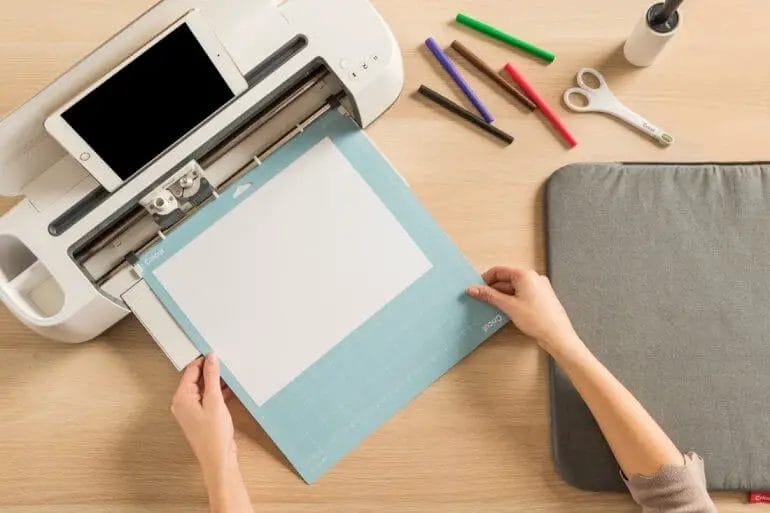
- Cricut cutting machine or scissors
- EasyPress or heat press
- Lint-free cloth
- Butcher paper
Step 1: Prepare Your Design
Start by selecting or creating the design you want to transfer onto the wood. You can use design software or choose a pre-made design from a compatible platform. Make sure the design fits the dimensions of your wooden surface and mirror it if necessary.
Step 2: Cut the Infusible Ink Transfer Sheet
Using a Cricut cutting machine or scissors, carefully cut out your design from the infusible ink transfer sheet. Take your time to ensure precise cuts and remove any unwanted background areas.
Step 3: Preheat Your EasyPress or Heat Press
Set your EasyPress or heat press to the recommended temperature for infusible ink transfer onto wood. Refer to the manufacturer’s instructions for the appropriate temperature and time settings. Let it preheat while you prepare the wooden surface.
Step 4: Prepare the Wooden Surface
Ensure that the wooden surface is clean, smooth, and free from any dust or debris. Wipe it gently with a lint-free cloth to remove any impurities that may interfere with the adhesion of the infusible ink.
Step 5: Secure the Infusible Ink Transfer Sheet
Place the cut infusible ink transfer sheet onto the wooden surface, ensuring that the design is facing down onto the wood. Secure the transfer sheet in place using heat-resistant tape along the edges. This will prevent any movement during the heating process.
Step 6: Apply Heat and Pressure
Put a sheet of butcher paper over the secured infusible ink transfer sheet and wooden surface. This will protect both the design and your EasyPress or heat press. Place the heated EasyPress or heat press directly onto the butcher paper, applying firm and even pressure.
Step 7: Transfer the Design
Follow the recommended time and temperature guidelines provided by the infusible ink manufacturer. Apply heat and pressure to transfer the design onto the wooden surface. Once the time is up, carefully lift the EasyPress or heat press, ensuring not to shift the transfer sheet or the wood.
Step 8: Wait for the Surface to Cool
Allow the wooden surface to cool completely before removing the transfer sheet. This will ensure that the infusible ink sets properly onto the wood, creating a permanent and vibrant design.
Step 9: Remove the Transfer Sheet
Gently peel off the transfer sheet from the wooden surface, starting from one corner and gradually working your way across. Take your time to avoid damaging the design or the wood.
Step 10: Admire Your Infusible Ink Masterpiece
Once the transfer sheet is removed, take a moment to admire your beautifully created infusible ink design on wood. The colors should be vibrant, and the design should be permanently infused into the wood.
In summary, applying infusible ink on wood is a fun and creative way to personalize your wooden crafts. By following this step-by-step tutorial, you can create stunning and permanent designs that will impress everyone who sees them. So gather your materials, unleash your creativity, and start exploring the endless possibilities of infusible ink on wood!

Tips and Tricks for Using Infusible Ink on Wood Surfaces
Infusible Ink is a popular heat-transfer material that allows you to create vibrant and permanent designs on various surfaces. While commonly used on fabrics, Infusible Ink can also be used on wood surfaces to create unique and personalized home decor items. However, working with Infusible Ink on wood requires some special considerations to ensure a successful and long-lasting result. In this section, we will provide you with some useful tips and tricks for using Infusible Ink on wood surfaces.
1. Choose the Right Type of Wood
When working with Infusible Ink on wood, it is important to choose the right type of wood for your project. Ideally, you should select a smooth and untreated wood surface that is free from any coatings or sealants. The porous nature of wood allows the Infusible Ink to deeply penetrate the surface, resulting in a vibrant and durable design.
2. Prepare the Wood Surface
Before applying the Infusible Ink, it is crucial to properly prepare the wood surface. Start by sanding the surface to ensure a smooth and even finish. Remove any dust or debris using a clean cloth or microfiber towel. This will help the Infusible Ink adhere better to the wood and prevent any imperfections in the final design.
3. Test the Design on a Scrap Piece
It is always a good idea to test your design on a scrap piece of wood before applying it to your final project. This will allow you to make any necessary adjustments and ensure that the colors and design transfer correctly. Use a small piece of wood with similar characteristics to your intended project to test out the Infusible Ink.
4. Mirror the Design
When working with Infusible Ink, it is important to mirror your design before cutting it out. This is because the design will be flipped when heat transferred onto the wood surface. Most design software or cutting machines have an option to easily mirror the image or text.
5. Apply Heat Evenly
When applying the Infusible Ink to the wood surface, it is essential to apply heat evenly to ensure proper transfer. Use a heat press or an iron with an even heat distribution to achieve consistent results. Avoid using a heat gun as it may cause uneven heating and result in an inconsistent transfer.
6. Use Protective Covering
To protect your wood surface and prevent any damage during the heat transfer process, use a protective covering. This can be a sheet of butcher paper or parchment paper that is placed between the Infusible Ink design and the heat source. The protective covering will help distribute the heat evenly and prevent the wood from scorching.
7. Allow Sufficient Cooling Time
After the heat transfer is complete, it is important to allow sufficient cooling time before removing the protective covering. This will ensure that the design sets properly and adheres to the wood surface. Rushing the cooling process may result in a less durable design that is prone to peeling or fading.
8. Seal the Design (Optional)
For added protection and longevity, you may consider sealing the Infusible Ink design on the wood surface. This step is optional but can help preserve the vibrancy of the colors and prevent any wear or fading over time. Choose a clear sealer that is compatible with your wood type and apply it according to the manufacturer’s instructions.
By following these tips and tricks, you can successfully use Infusible Ink on wood surfaces to create stunning and personalized home decor items. Remember to choose the right type of wood, prepare the surface properly, and apply heat evenly for the best results. Happy crafting!

Creative Ideas for Using Infusible Ink to Customize Wooden Items
Infusible ink is a unique and innovative product that allows you to create vibrant and long-lasting designs on various surfaces. While it is commonly used on fabrics, one creative and exciting way to use infusible ink is to customize wooden items. Whether you are a DIY enthusiast or a small business owner, infusible ink can help you add a personal touch to your wooden crafts. In this section, we will explore some creative ideas for using infusible ink to customize wooden items.
1. Engraved Wooden Coasters
Wooden coasters are not only functional but also offer a great canvas for customization. Instead of simply painting or staining them, why not use infusible ink to add intricate designs and patterns? Start by engraving your desired design onto the wooden surface using a laser engraver or a Dremel tool. Once the design is engraved, apply infusible ink on the surface, and use a heat press to transfer the ink onto the wood. The result will be a beautifully customized wooden coaster that adds a unique touch to any table setting.
2. Personalized Wooden Signs
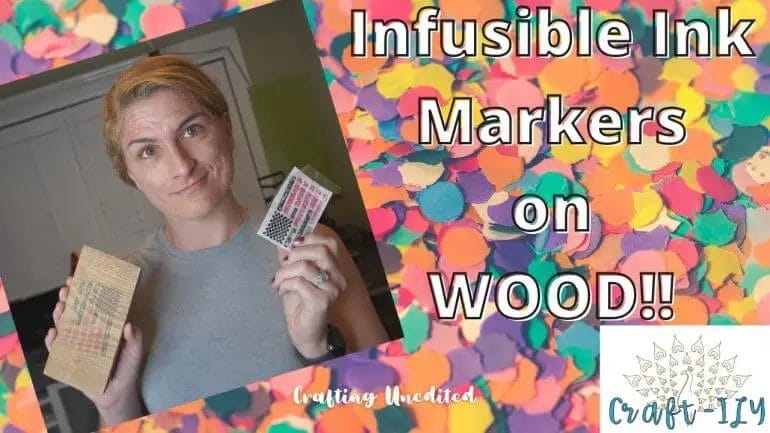
Wooden signs are a popular choice for home decor, and infusible ink can help you take them to the next level. Whether you want to create a welcoming sign for your front porch or a personalized nameplate for your child’s room, infusible ink allows you to easily add detailed designs and vibrant colors. Start by cutting your desired shape and size of the wooden sign. Then, use infusible ink markers or transfer sheets to create your design. Apply heat using a heat press or an iron to transfer the ink onto the wood. The result will be a custom wooden sign that showcases your personal style and creativity.
3. Decorative Wooden Boxes
Wooden boxes are not only functional for storage but also make great decorative pieces. With infusible ink, you can transform a plain wooden box into a stunning work of art. Start by sanding the wooden surface to ensure a smooth finish. Then, apply a coat of white infusible ink to serve as a base for your design. Once the base coat is dry, use infusible ink markers or transfer sheets to add your desired design. Apply heat using a heat press to transfer the ink onto the wood. The result will be a beautifully customized wooden box that adds a touch of elegance to any space.
4. Personalized Wooden Utensils
If you enjoy cooking or know someone who does, personalized wooden utensils make a thoughtful and practical gift. Infusible ink allows you to customize wooden spoons, spatulas, and other utensils with ease. Start by sanding the wooden surface to ensure a smooth finish. Then, apply a coat of white infusible ink as a base. Once the base coat is dry, use infusible ink markers to add personalized designs or patterns. Apply heat using a heat press to transfer the ink onto the wood. The result will be a set of unique and eye-catching wooden utensils that are both functional and aesthetically pleasing.
5. Customized Wooden Keychains
Keychains are small but impactful accessories that can be easily customized using infusible ink. Start by cutting small wooden shapes, such as circles or rectangles, to serve as the base for your keychain. Then, apply a coat of white infusible ink as a base. Once the base coat is dry, use infusible ink markers or transfer sheets to add personalized designs or messages. Apply heat using a heat press to transfer the ink onto the wood. Finish by attaching a keychain ring to the wooden shape. The result will be a personalized and stylish keychain that stands out from the crowd.
In summary, infusible ink offers endless possibilities for customizing wooden items. Whether you are looking to add a personal touch to your home decor or create unique gifts, infusible ink allows you to unleash your creativity and bring your ideas to life. From engraved wooden coasters to customized keychains, infusible ink can transform plain wooden surfaces into stunning works of art.
Exploring the Durability of Infusible Ink on Wood: What to Expect
Infusible ink has become increasingly popular among crafters and DIY enthusiasts for its vibrant and long-lasting results on various surfaces. While it is primarily known for its compatibility with fabrics, many people are curious about its durability on other materials, such as wood. In this section, we will delve into the topic of infusible ink on wood and discuss what you can expect in terms of durability.
1. Understanding Infusible Ink
Before we get into the durability aspect, let’s quickly recap what infusible ink is. Infusible ink is a unique heat-transfer material that, when properly applied, fuses with the substrate to create a permanent and vibrant design. Unlike traditional heat transfer vinyl or iron-on transfers, infusible ink does not sit on top of the surface. Instead, it infuses into the material, making it resistant to peeling, cracking, or fading.
2. Preparing the Wood Surface
For optimal durability and successful application of infusible ink on wood, proper preparation of the surface is crucial. Here are some steps to follow:
- Clean the wood surface: Use a mild detergent and water to remove any dirt, dust, or oils from the surface. Dry it thoroughly before proceeding.
- Sand the wood: Gently sand the surface to create a smoother and more receptive area for the infusible ink. This step helps the ink adhere better and prolong its durability.
- Apply a protective coating: Consider applying a clear protective coating or sealer on the wood after sanding. This additional layer can help enhance the ink’s longevity and protect it from external elements.
3. Applying Infusible Ink on Wood
Once the wood surface is properly prepared, you can proceed with applying the infusible ink. Here is a step-by-step guide:
- Cut your design: Use a cutting machine or scissors to create your desired design using infusible ink sheets or pens.
- Prepare the transfer sheet: Place the design face-down on a heat-resistant transfer sheet, ensuring the inked side is touching the sheet.
- Heat transfer process: Preheat your heat press or EasyPress to the recommended temperature for wood (consult the manufacturer’s instructions). Place the transfer sheet with the design on the wood surface and apply even pressure and heat for the specified time.
- Cooling and peeling: Allow the wood to cool down completely before peeling off the transfer sheet. This ensures that the ink fully infuses into the wood fibers.
4. Durability Expectations
Infusible ink on wood can provide impressive durability if applied correctly and cared for properly. Here are some key points to keep in mind:
- Permanent bond: Infusible ink creates a permanent bond with the wood, making it resistant to peeling, cracking, or fading.
- Scratch resistance: While infusible ink is durable, it is not entirely scratch-proof. Avoid using abrasive materials or harsh cleaners that can potentially damage the ink.
- UV resistance: Infusible ink on wood is generally resistant to UV fading. However, to ensure its longevity, it is advisable to keep the finished project away from direct sunlight for extended periods.
- Indoor use recommended: While infusible ink on wood can withstand some moisture, it is best suited for indoor use. Excessive exposure to moisture or extreme temperature changes may affect its durability.
In summary, infusible ink can provide excellent durability when applied correctly on wood surfaces. By properly preparing the wood and following the application steps, you can expect a vibrant and long-lasting design that withstands everyday use. Remember to take precautions to protect the wood from excessive moisture or outdoor elements for prolonged durability.
FAQs
Can I use infusible ink on wood?
No, infusible ink is specifically designed to be used on polyester or polyester-coated surfaces, such as T-shirts and tote bags. It is not recommended to use infusible ink on wood as it may not adhere properly and may not produce the desired result.
Conclusion
In conclusion, while infusible ink is primarily designed for use on compatible materials such as polyester or sublimation blanks, it may not be suitable for wood surfaces. The unique properties of infusible ink, such as its need for high heat and pressure, may not interact well with wood, resulting in unsatisfactory results.
However, there are alternative options available for adding designs to wood surfaces, such as using acrylic paint, wood stain, or wood burning techniques. These methods can provide a more durable and long-lasting result on wood, ensuring that your DIY projects retain their beauty and longevity for years to come.
So, if you’re looking to decorate wood items, it’s best to explore other techniques that are specifically tailored for wood surfaces, rather than relying on infusible ink which may not deliver the desired outcome.