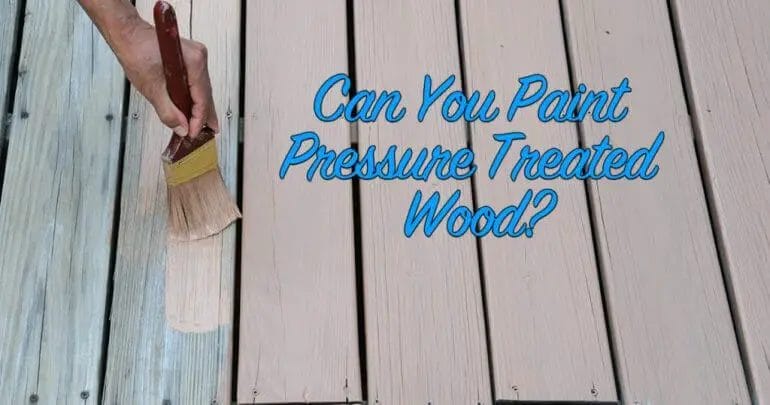
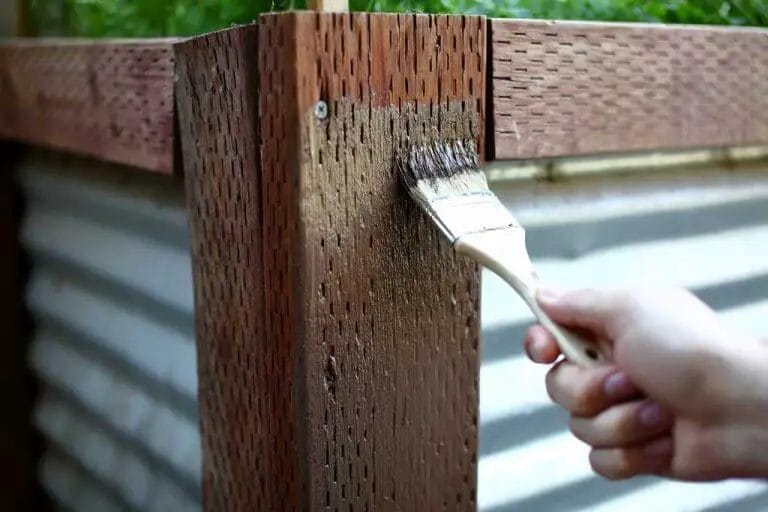
Wondering how long you should wait before painting pressure-treated wood? It’s crucial to give the lumber enough time to dry and settle before applying any paint or stain. Typically, experts recommend waiting at least 6 months to a year for the moisture content to stabilize. This allows the wood to weather properly and prevents any potential issues with adhesion or peeling. However, it’s always best to follow the manufacturer’s recommendations for your specific pressure-treated wood product.

Drying Time for Pressure Treated Wood Before Painting
Pressure treated wood is commonly used for outdoor applications such as decks, fences, and landscaping features due to its durability and resistance to rot and insect damage. However, before you can paint or stain pressure treated wood, it is important to allow sufficient drying time. In this section, we will discuss the factors that affect the drying time for pressure treated wood and provide some guidelines to ensure that your paint job is successful.

1. Moisture Content
The moisture content of pressure treated wood is a crucial factor in determining the drying time. Pressure treated wood is infused with a water-based preservative to enhance its longevity. This treatment process can result in a high moisture content, which needs to be reduced before painting. It is recommended to wait for the wood to reach a moisture content of 15% or less before applying paint or stain.
2. Environmental Conditions
The drying time for pressure treated wood is influenced by the surrounding environmental conditions. High humidity and low temperatures can significantly prolong the drying process. It is ideal to paint or stain pressure treated wood in dry weather with temperatures above 50°F (10°C). This allows for faster evaporation of moisture and ensures proper adhesion of the paint.
3. Wood Thickness
The thickness of the pressure treated wood also plays a role in drying time. Thicker pieces of wood take longer to dry compared to thinner ones. For example, a 2×4 board will dry faster than a 6×6 post. It is important to consider the dimensions of the wood when estimating the drying time and plan accordingly.
4. Type of Paint or Stain
The type of paint or stain you plan to use on the pressure treated wood can affect the drying time as well. Oil-based paints and stains generally have a longer drying time compared to water-based alternatives. It is recommended to check the manufacturers’ instructions for the specific product you are using to ensure proper drying times.
5. Drying Time Estimation
While there are no exact timelines for drying pressure treated wood before painting, a general rule of thumb is to wait at least 48 hours after installation. However, it is important to note that this is just a minimum guideline, and the actual drying time may vary depending on the factors mentioned above. If in doubt, it is always best to err on the side of caution and wait longer to ensure the wood is adequately dry.
In summary, proper drying time is crucial for the success of painting or staining pressure treated wood. Factors such as moisture content, environmental conditions, wood thickness, and the type of paint or stain used all play a role in determining the drying time. Taking these factors into consideration and allowing sufficient drying time will result in a long-lasting and visually appealing paint job on your pressure treated wood.

Factors Affecting the Drying Time of Pressure Treated Wood
Pressure treated wood is a popular choice for outdoor projects such as decks, fences, and pergolas due to its durability and resistance to rot and insects. However, one important consideration when working with pressure treated wood is the drying time. In this section, we will explore the various factors that can affect the drying time of pressure treated wood.
1. Moisture Content
The initial moisture content of the pressure treated wood plays a significant role in determining how long it will take to dry. Pressure treated wood is typically infused with chemicals to protect it against decay, but this treatment process also introduces a substantial amount of moisture into the wood. The higher the initial moisture content, the longer it will take for the wood to dry.
2. Climate and Weather Conditions
The climate and weather conditions in your area can greatly impact the drying time of pressure treated wood. Warm and dry weather with low humidity will accelerate the drying process, while cool and humid conditions will slow it down. It is important to consider the local climate and plan your project accordingly to ensure proper drying.
3. Wood Species
Not all wood species dry at the same rate. Some species have higher moisture retention properties, while others dry more quickly. For example, softwoods like pine tend to dry faster compared to hardwoods like oak or mahogany. Understanding the characteristics of the wood species you are working with can help you estimate the drying time more accurately.
4. Wood Thickness
The thickness of the pressure treated wood also affects the drying time. Thicker pieces of wood retain more moisture and take longer to dry compared to thinner sections. It is important to factor in the thickness of the wood when estimating the drying time for your project.
5. Ventilation
Proper airflow and ventilation play a crucial role in the drying process. Good ventilation allows the moisture to evaporate more efficiently, speeding up the drying time. Ensure that the pressure treated wood is stacked or installed in a way that allows air to circulate freely around the wood.
6. Treatment Process
The specific treatment process used to pressure treat the wood can also impact the drying time. Different treatment methods may result in variations in the moisture content and drying characteristics of the wood. It is important to understand the treatment process employed by the manufacturer and follow any recommended drying guidelines.
7. Use of Sealer or Stain
If you plan to apply a sealer or stain to the pressure treated wood, it is essential to allow the wood to dry completely before doing so. Applying a sealer or stain too soon can trap moisture within the wood, leading to potential issues such as mold or warping. Follow the manufacturer’s recommendations for drying time before applying any finishes.
8. Project Design
The design and construction of your project can also influence the drying time of pressure treated wood. For example, if you are building a deck with closely spaced boards, it may take longer for the wood to dry compared to a project with wider spacing that allows for better airflow. Consider the design elements that can affect moisture retention and drying when planning your project.
In summary, the drying time of pressure treated wood is influenced by factors such as moisture content, climate and weather conditions, wood species, thickness, ventilation, treatment process, use of sealer or stain, and project design. By understanding and considering these factors, you can estimate the drying time more accurately and ensure the longevity and performance of your pressure treated wood project.

Techniques to Speed Up the Drying Process of Pressure Treated Wood
Pressure treated wood is a popular choice for outdoor projects as it is durable and resistant to decay and insect infestation. However, one downside of pressure treated wood is that it can take a long time to dry properly before it can be painted or stained. In this section, we will explore some effective techniques to speed up the drying process of pressure treated wood.
1. Increase Air Circulation
One of the simplest and most effective ways to speed up the drying process of pressure treated wood is to increase air circulation around the wood. This can be achieved by placing the wood in a well-ventilated area or using fans to create airflow. The movement of air helps to remove moisture from the wood, facilitating faster drying.
2. Use a Dehumidifier
Another method to accelerate the drying process is by using a dehumidifier. This device helps to reduce the humidity levels in the surrounding environment, which in turn aids in drying the pressure treated wood. It is recommended to place the dehumidifier near the wood and set it to a low humidity level for optimal results.
3. Apply Heat
Applying heat to the pressure treated wood can significantly speed up the drying process. This can be done using a heat gun or by exposing the wood to direct sunlight. However, caution must be exercised to prevent excessive heat which can cause the wood to warp or crack. It is important to maintain a safe distance and continually monitor the temperature.
4. Use a Moisture Meter
Utilizing a moisture meter is an efficient way to determine if the pressure treated wood has reached an acceptable moisture content. This tool measures the moisture levels within the wood and helps determine when it is sufficiently dry for further treatment. By regularly monitoring the moisture levels, you can gauge the progress and know when the wood is ready for the next step.
5. Cut the Wood into Smaller Pieces
If time is of the essence, cutting the pressure treated wood into smaller pieces can expedite the drying process. This technique exposes a greater surface area of the wood to air and heat, allowing for faster moisture evaporation. However, it is essential to carefully plan and measure before cutting the wood to ensure it meets your project requirements.
6. Optimize Ambient Conditions
Creating the optimal ambient conditions can significantly enhance the drying process. Ensure that the wood is stored in a dry and well-ventilated area, away from moisture sources such as sprinklers or damp soil. Additionally, avoiding high humidity and rainy weather conditions can help expedite the drying process.
7. Allow Sufficient Time
While it may be tempting to rush the drying process, it is crucial to allow sufficient time for the pressure treated wood to dry properly. Depending on the thickness of the wood and ambient conditions, the drying time can vary. Patience is key to ensuring the wood is adequately dry before proceeding with painting or staining.
In summary, speeding up the drying process of pressure treated wood can be achieved by increasing air circulation, using a dehumidifier, applying heat cautiously, using a moisture meter to monitor progress, cutting the wood into smaller pieces, optimizing ambient conditions, and allowing sufficient drying time. By following these techniques, you can reduce the waiting time and ensure that your pressure treated wood is ready for the next stage of your project in a timely manner.
Best Practices for Painting Pressure Treated Wood
Pressure treated wood is commonly used for outdoor projects such as decks, fences, and furniture due to its resistance to decay and insect damage. However, it can be a bit challenging to paint pressure treated wood as it requires some extra steps to ensure a successful and long-lasting finish. In this section, we will discuss the best practices for painting pressure treated wood.
1. Allow Sufficient Drying Time
Before painting pressure treated wood, it is crucial to allow sufficient drying time. Freshly treated wood contains high levels of moisture and chemicals, which can interfere with the adhesion and durability of paint. The drying time will vary depending on the climate and the type of treatment, but it is generally recommended to wait at least 6 to 12 months before painting.
2. Clean the Surface
Prior to painting, it is important to clean the surface of the pressure treated wood to remove any dirt, grime, or mildew. Use a mild detergent and a stiff brush or power washer to scrub the surface thoroughly. Rinse with clean water and allow the wood to dry completely before proceeding.
3. Sand the Wood
Pressure treated wood can sometimes have a rough and uneven surface, which can affect the appearance of the painted finish. To achieve a smooth and uniform finish, it is recommended to sand the wood after it has dried. Use a medium-grit sandpaper to sand the surface, working in the direction of the wood grain. Wipe away any dust with a clean cloth or tack cloth.
4. Apply a Primer
Applying a primer is an essential step when painting pressure treated wood. Primer helps to seal the surface, enhance adhesion, and provide a stable base for the paint. Choose a high-quality exterior primer that is specifically formulated for use on pressure treated wood. Apply the primer evenly using a brush or roller, following the manufacturer’s instructions.
5. Choose the Right Paint
When selecting paint for pressure treated wood, it is important to choose a high-quality exterior paint that is suitable for outdoor use. Look for a paint that is specifically formulated for use on wood and provides protection against UV rays, moisture, and mildew. Acrylic latex paints are commonly recommended for painting pressure treated wood.
6. Apply Multiple Coats
To achieve a durable and long-lasting finish, it is recommended to apply multiple coats of paint. Allow each coat to dry completely before applying the next one. This will help to ensure that the wood is adequately protected and the paint has a smooth and consistent appearance. Follow the manufacturer’s instructions regarding the recommended drying time between coats.
7. Maintain and Reapply
Proper maintenance is essential to extend the lifespan of the painted pressure treated wood. Regularly inspect the painted surface for any signs of wear or damage. Clean the surface as needed and reapply paint or touch up any areas that have become worn or faded over time. This will help to keep the wood protected and maintain its appearance.
In summary, painting pressure treated wood requires some extra steps to achieve a successful and long-lasting finish. Allow sufficient drying time, clean the surface, sand the wood, apply a primer, choose the right paint, apply multiple coats, and maintain the painted surface over time. By following these best practices, you can ensure that your painted pressure treated wood projects look great and withstand the test of time.
FAQs
How long should I wait before painting pressure treated wood?
It is recommended to wait at least 6 months before painting pressure treated wood. This allows the wood to fully dry and helps the paint adhere better. However, you can apply a water-repellent sealer immediately after installation to protect the wood.
Can I paint pressure treated wood right away?
No, it is not recommended to paint pressure treated wood right away. The wood needs time to dry and the chemicals used in the treatment process need to fully leach out. Waiting at least 6 months will ensure better paint adhesion and a longer-lasting finish.
What should I do before painting pressure treated wood?
Prior to painting pressure treated wood, make sure it is clean and dry. Use a mild detergent and water to wash the surface, then let it dry completely. Sand any rough spots or splinters, and apply a wood primer before painting to improve adhesion and durability.
Conclusion:
In conclusion, when it comes to painting pressure treated wood, it is essential to allow sufficient time for the wood to dry. Typically, it is recommended to wait at least 30 days before applying any paint or stain. This waiting period ensures that the wood has fully dried and the chemicals used in the pressure treatment process have dissipated. It is important to note that painting too soon can lead to poor adhesion and a shorter lifespan for the paint job. So, be patient and give your pressure treated wood the time it needs to properly cure before reaching for that paintbrush. Your patience will be rewarded with a beautiful and long-lasting finish.