If you’re wondering how long you need to wait for wood glue to dry before sanding, we have the answer you’re looking for. The drying time for wood glue can vary depending on several factors such as humidity, temperature, and the type of glue used. However, as a general rule, most wood glues will dry completely within 24 hours. It’s important to allow the glue sufficient time to cure before sanding to ensure a strong and durable bond. Read on to learn more about the drying process and some tips for achieving optimal results.
When working with wood glue, it’s crucial to follow the manufacturer’s instructions regarding drying time. Some fast-drying glues may dry within a few hours, while others may require a full day or more. Keep in mind that the drying time can be affected by environmental conditions, so it’s essential to work in a well-ventilated area and to monitor the temperature and humidity levels.

Before sanding, it’s crucial to ensure that the wood glue is completely dry and cured. Sanding too soon can lead to a weak bond and compromise the quality of the finished project. To determine if the glue is ready for sanding, gently touch the surface to check for any tackiness. If the glue feels dry and there are no signs of stickiness, it’s safe to proceed with sanding.
Proper drying time for wood glue is essential to achieve a smooth, professional
Factors Affecting the Drying Time of Wood Glue
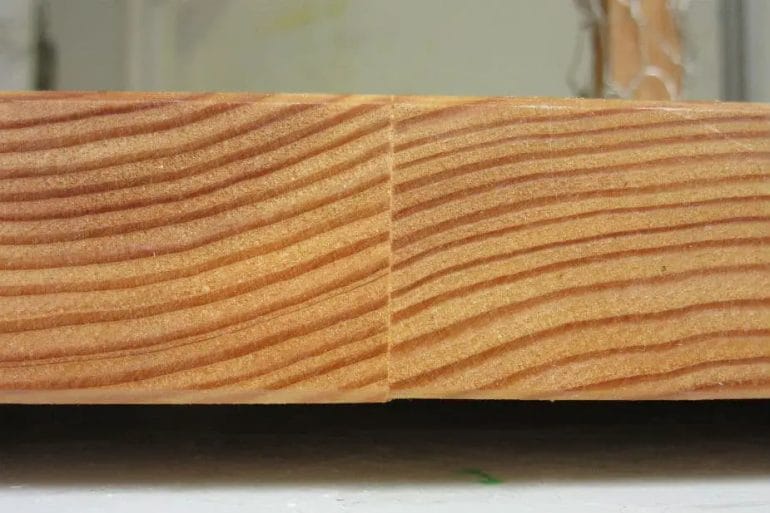
Wood glue is a common adhesive used in woodworking projects to join pieces of wood together. The drying time of wood glue plays a crucial role in the success of the project, as it determines when the glued pieces can be handled and further processed. Several factors can affect the drying time of wood glue, and understanding these factors is essential for achieving optimal results.
1. Type of Wood Glue:
The type of wood glue used can significantly impact the drying time. There are various types of wood glues available, such as PVA glue, epoxy resin, and polyurethane glue. Each type has different chemical compositions and drying properties. PVA glue, for example, is known for its quick drying time, while epoxy resin may require extended curing periods.
2. Temperature and Humidity:
The ambient temperature and humidity levels in the working environment can greatly affect the drying time of wood glue. Warmer temperatures and lower humidity levels generally accelerate the drying process, while colder temperatures and higher humidity can slow it down. Ideally, the temperature should be within the range recommended by the manufacturer of the specific wood glue product.
3. Thickness of Glue Application:
The thickness of the glue application also plays a role in the drying time. Thicker layers of glue take longer to dry compared to thinner applications. It is important to apply an even and adequate amount of glue for proper bonding, but excessive glue can prolong the drying process.
4. Porosity of Wood:
The porosity of the wood surface being glued can impact the drying time. Some woods have more open pores and absorb glue faster, leading to quicker drying. In contrast, dense or oily woods may slow down the drying process as the glue takes longer to penetrate and bond with the wood fibers.
5. Clamping Pressure:
Applying proper clamping pressure during the gluing process can influence the drying time. Sufficient pressure ensures strong bonding between the wood pieces, but excessive pressure can squeeze out excessive glue and extend the drying time. It is essential to follow the manufacturer’s recommendations regarding clamping pressure for the specific type of wood glue.
6. Ventilation:
Adequate ventilation is crucial for the drying process. Sufficient airflow helps remove moisture from the glue, allowing it to dry faster. However, excessive airflow can cause the glue to dry too quickly, potentially compromising the strength of the bond. It is important to find a balance and ensure proper ventilation in the working area.
7. Surface Preparation:
The condition of the wood surfaces to be glued also affects the drying time. Proper surface preparation, including cleaning and sanding, ensures better adhesion and faster drying. Dust, dirt, or uneven surfaces can hinder the bonding process and prolong the drying time.
8. Additives and Accelerators:
Some wood glue products come with additives or accelerators that can shorten the drying time. These additives help speed up the curing process, allowing for quicker handling of the glued wood pieces. It is important to follow the manufacturer’s instructions when using such products to achieve the desired results.
9. Application Method:
The method of applying the wood glue can also impact the drying time. Even and uniform application ensures better coverage and faster drying. If applying glue on large surfaces, it is recommended to work in smaller sections to avoid the glue drying before the pieces are properly aligned.
10. Manufacturer’s Recommendations:
Lastly, it is crucial to refer to the manufacturer’s instructions and recommendations for the specific wood glue product being used. Manufacturers have tested their products to determine the optimal drying conditions and provide guidelines for achieving the best results.
In summary, the drying time of wood glue is influenced by several factors, including the type of glue, temperature, humidity, thickness of application, wood porosity, clamping pressure, ventilation, surface preparation, additives, and application method. By considering these factors and following the manufacturer’s recommendations, woodworkers can ensure proper bonding and efficient drying of glued wood pieces.
Tips for Speeding Up the Drying Time of Wood Glue
Wood glue is a common adhesive used in woodworking projects, but waiting for it to dry can be time-consuming. However, there are several tips and techniques you can use to speed up the drying time of wood glue, allowing you to move forward with your project more quickly.
1. Use the Right Type of Wood Glue
Not all wood glues are created equal when it comes to drying time. Some take longer to dry than others. If you’re in a hurry, choose a wood glue that is specifically formulated for quick drying. These types of glue usually have a shorter drying time but still provide a strong bond.
2. Apply Thin Layers of Glue
Applying thick layers of wood glue can prolong the drying time. Instead, apply thin, even layers of glue to the surfaces you want to bond. Thin layers of glue dry faster due to increased surface area and better air circulation.
3. Increase Air Circulation
Poor air circulation can hinder the drying process of wood glue. To speed it up, make sure the area where your project is located has adequate air circulation. You can use fans or open windows to improve airflow. This will help evaporate moisture from the glue, accelerating the drying time.
4. Apply Heat
Applying heat to the glued surfaces can significantly reduce the drying time of wood glue. You can use a heat gun or a hairdryer on a low heat setting to gently warm the glue. Be careful not to apply too much heat, as it can damage the wood or cause the glue to bubble.
5. Use Accelerators
Accelerators, also known as activators or catalysts, are substances that can speed up the curing process of wood glue. These products are typically sprayed or brushed onto the glued surfaces and can reduce drying time by up to half. However, be sure to follow the manufacturer’s instructions when using accelerators, as they can vary depending on the product.
6. Optimize Humidity and Temperature
The humidity and temperature levels in your workspace can affect the drying time of wood glue. Ideally, the humidity should be around 45-55% and the temperature around 70-75°F (21-24°C). Higher humidity can slow down the drying process, while lower humidity can speed it up. Similarly, warmer temperatures can accelerate drying, while colder temperatures can prolong it.
7. Consider Using a Different Adhesive
If you’re facing time constraints and need quick results, you may want to consider using a different adhesive instead of wood glue. Epoxy adhesives, for example, offer quick curing times and high bond strength. However, keep in mind that epoxy adhesives may be more expensive and have different application requirements compared to wood glue.
By utilizing these tips and techniques, you can significantly reduce the drying time of wood glue and complete your woodworking projects in a timely manner. Remember to always follow the manufacturer’s instructions for the specific wood glue you are using, as different products may have unique drying requirements.
How to Tell If Wood Glue Is Completely Dry
Wood glue is an essential adhesive used in various woodworking projects to bond pieces of wood together. It is crucial to ensure that the glue is completely dry before moving forward with your project. Uncured or partially dried wood glue can compromise the strength and durability of the joint.1. Visual Inspection
One of the easiest ways to determine if wood glue is dry is through visual inspection. Dried wood glue typically has a transparent or translucent appearance, depending on the type and brand of glue used. The glue should not have a milky or cloudy appearance, which indicates that it is still wet or partially dried. Additionally, check for any visible wet spots or residue on the surface of the glue. If the glue appears dry and clear, it is likely fully cured.2. Tactile Test
Another method to check the dryness of wood glue is to perform a tactile test. Gently touch the glue surface with your fingertip and observe its texture. If the glue feels tacky, sticky, or soft to the touch, it is not fully dry. However, if the glue feels hard and dry without any stickiness, it indicates that it has cured completely.3. Time and Drying Guidelines
The drying time for wood glue varies depending on several factors, including the type of glue, temperature, humidity level, and wood species. Some wood glues dry faster than others, so it is essential to refer to the manufacturer’s guidelines for specific drying times. As a general rule of thumb, most wood glues require at least 24 hours to fully dry and cure. However, certain specialized glues may have longer drying times.4. Wood Movement
Wood has a natural tendency to expand and contract with changes in temperature and humidity. If you have bonded two pieces of wood together using glue, observe any movement or shifting between the joints. If the wood joints remain firm and stable without any signs of separation or movement, it indicates that the glue has dried and created a strong bond.5. Sanding and Finishing
Once the wood glue is completely dry, you can proceed with sanding and finishing your project. If you attempt to sand or finish wood with uncured glue, it may ruin the surface and compromise the final result. However, if the glue has dried completely, you can safely sand the surface and apply your desired finish without any issues. In summary, determining if wood glue is completely dry is crucial for the success of your woodworking project. Conduct a visual inspection to ensure the glue appears clear and transparent without any milky or cloudy appearance. Perform a tactile test to check if the glue feels hard and dry without any stickiness. Follow the manufacturer’s guidelines for appropriate drying times and check for any wood movement or shifting between the joints. Lastly, wait for the glue to dry fully before proceeding with sanding and finishing. By following these steps, you can ensure that your wood glue has cured effectively, resulting in a strong and durable bond.Sanding After Wood Glue Dries: Best Practices
When it comes to woodworking projects, using wood glue is an essential component for creating strong and durable joints. However, once the glue has dried, it is crucial to sand the surface to achieve a smooth and professional finish. In this section, we will explore the best practices for sanding after wood glue dries.
1. Wait for Sufficient Drying Time
Before you begin sanding, it is important to ensure that the wood glue has completely dried. Drying times may vary depending on the type of glue used, so it is essential to follow the manufacturer’s instructions. As a general guideline, most wood glues require at least 24 hours to dry fully.
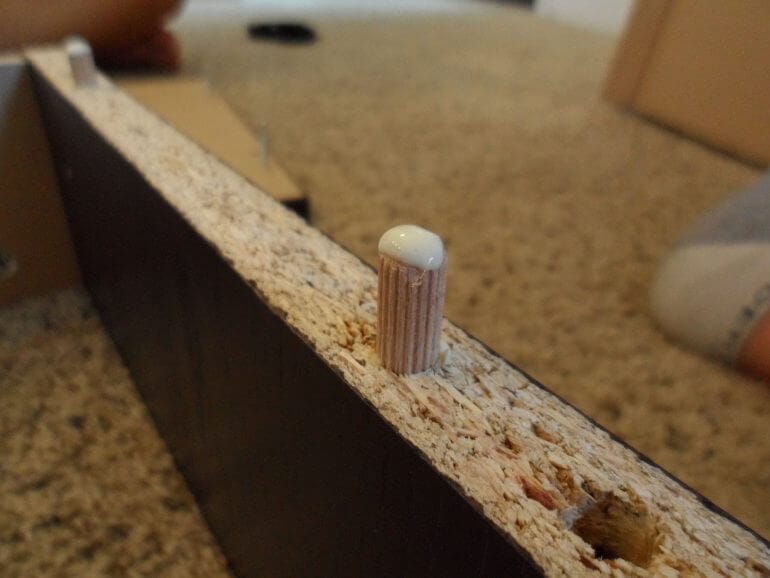
2. Remove Excess Glue
Prior to sanding, it is necessary to remove any excess glue from the surface of the wood. This can be done using a chisel or a scraper. Be careful not to damage the wood as you remove the excess glue. Taking the time to remove the excess glue will help prevent the sandpaper from getting clogged and ensure a smoother sanding process.
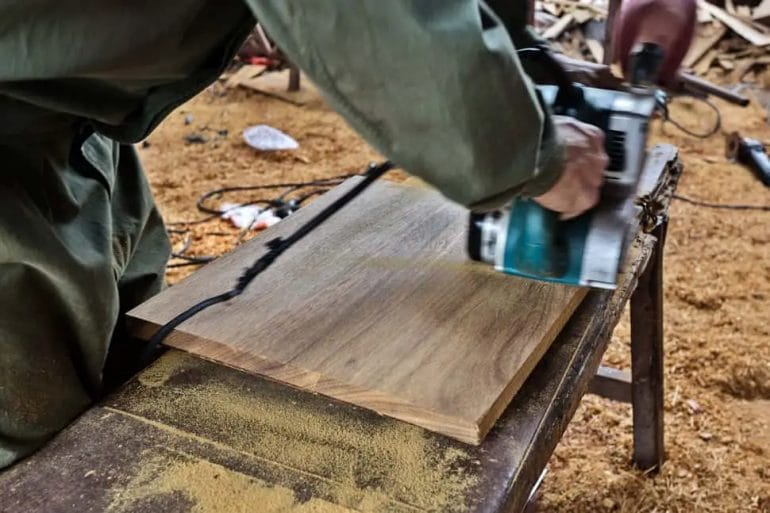
3. Start with Coarse Grit Sandpaper
When sanding after wood glue has dried, it is recommended to start with a coarse grit sandpaper, such as 80 or 100. The coarse grit helps to remove any unevenness and leveling the surface. It is important to sand in the direction of the grain to avoid any scratches or damage to the wood.
4. Progress to Finer Grits
After the initial sanding with coarse grit sandpaper, gradually progress to finer grits, such as 120, 150, and 220. Each consecutive grit will help to smoothen the surface and remove any remaining imperfections. This step is crucial for achieving a polished and professional finish.
5. Use a Sanding Block or Sander
When sanding the surface, it is advisable to use a sanding block or a power sander. These tools provide stability and even pressure, resulting in a more uniform sanding process. If using a power sander, be cautious not to apply too much pressure as it may damage the wood or create uneven surfaces.
6. Inspect for Imperfections
Once you have completed sanding, it is essential to inspect the surface for any remaining imperfections. Check for any uneven areas, scratches, or visible glue lines. If necessary, repeat the sanding process using finer grit sandpaper until the desired smoothness is achieved.
7. Finish with Surface Preparation
After sanding, it is recommended to prepare the surface for finishing. This may include applying wood fillers or sealers to fill any gaps or pores in the wood. Follow the instructions provided by the manufacturer to ensure proper application.
In summary, sanding after wood glue dries is an important step in achieving a professional finish for your woodworking projects. By following these best practices, you can ensure a smooth and flawless surface that is ready for further finishing and polishing. Take your time, use the appropriate sandpaper grits, and pay attention to detail for optimal results.
FAQs
How long does wood glue take to dry before sanding?
The drying time of wood glue can vary depending on factors such as temperature, humidity, and the type of wood glue used. In general, most wood glues require at least 24 hours to fully dry before sanding. It’s important to follow the instructions provided by the manufacturer for the specific wood glue you are using.
Conclusion:
In conclusion, the drying time of wood glue before sanding is a crucial factor to consider for achieving the best results in your woodworking projects. The exact drying time will depend on various factors, including the type of wood glue used, humidity levels, and temperature. It is recommended to follow the manufacturer’s instructions for specific drying times. To ensure a strong bond and prevent damage, it is essential to allow sufficient time for the wood glue to dry completely before sanding. Rushing the process may lead to weakened adhesion and compromised results. Patience is key when it comes to achieving professional-looking finishes in woodworking projects.
