If you’re looking to create a stunning and functional centerpiece for your next gathering, a wooden charcuterie board is the perfect choice. Crafted with precision and care, a charcuterie board made from high-quality wood not only showcases your culinary delights but also adds a touch of rustic elegance to any table setting. Whether you’re a seasoned woodworker or a DIY enthusiast, building a charcuterie board out of wood is a rewarding project that allows you to showcase your creativity and craftsmanship.
When it comes to selecting the right wood for your charcuterie board, it’s important to choose a hardwood like maple, walnut, or cherry that is known for its durability and visually appealing grain patterns. These woods not only provide a sturdy surface for slicing and serving meats, cheeses, and fruits but also lend a natural beauty to the finished product.

Before you begin construction, it’s essential to have a clear plan and design in mind for your charcuterie board. Consider factors such as the desired size, shape, and thickness of the board, as well as any additional features you may want to incorporate, such as handles or decorative accents.
Once you have your design finalized, it’s time to gather the necessary tools and materials for the project. This typically includes a saw, sander, router, clamps, and food-safe finishes such as mineral oil or beeswax. Having the right tools and materials on hand will ensure that you
Essential Tools and Materials for Making a Wood Charcuterie Board
Making a wood charcuterie board can be a fun and rewarding DIY project. Whether you’re a beginner or a seasoned woodworker, having the right tools and materials is essential for creating a beautiful and functional charcuterie board. In this section, we will discuss the essential tools and materials that you will need to get started on your woodworking journey.
Tools
1. Circular Saw: A circular saw is a versatile tool that can be used to make straight cuts on various types of wood. It is a must-have tool for any woodworking project, including making a charcuterie board.
2. Miter Saw: A miter saw is ideal for making angled cuts and precise crosscuts. It is especially useful when cutting the edges of the charcuterie board at an angle.
3. Router: A router is a powerful tool that can be used to create decorative edges and patterns on the charcuterie board. It is great for adding a personal touch to your project.
4. Orbital Sander: An orbital sander is essential for smoothing out the surface of the charcuterie board. It helps in achieving a smooth and polished finish.
5. Clamps: Clamps are necessary for holding the wood pieces securely in place while cutting or gluing. They ensure that the boards are properly aligned and reduce the risk of accidents.
6. Drill: A power drill is needed for making holes and attaching hardware to the charcuterie board. It is also useful for countersinking screws.
7. Chisels: Chisels are necessary for making precise cuts and removing excess wood. They come in different sizes and are used for shaping and detailing the board.
8. Sandpaper: Sandpaper of various grits is essential for achieving a smooth and polished finish. It helps in removing any imperfections and gives the board a professional look.
Materials
1. Hardwood: The most popular choice of wood for making charcuterie boards is hardwood. Common hardwood options include maple, walnut, cherry, and oak. Hardwood is durable, food-safe, and has an appealing natural grain.
2. Food-Safe Finish: It is important to use a food-safe finish to protect the wood and make it safe for food contact. Mineral oil and beeswax are commonly used finishes for charcuterie boards.
3. Sanding Sealer: Applying a sanding sealer before finishing the board can help in sealing the wood pores and achieving a smooth finish.
4. Wood Glue: Wood glue is necessary for joining the different wood pieces together. It provides a strong bond and ensures the stability of the board over time.
5. Hardware: Depending on your design preferences, you may need hardware such as handles or feet for your charcuterie board. These can be easily attached using screws and a power drill.
By having the right tools and materials, you will be well-equipped to start making your own wood charcuterie board. Remember to prioritize safety by wearing protective gear such as safety glasses and earplugs, and always follow proper woodworking practices. Happy woodworking!
Step-by-Step Guide to Building a Charcuterie Board from Scratch
Charcuterie boards have become increasingly popular in recent years, and for good reason. They offer a beautiful and delicious way to entertain guests or enjoy a special meal. While it may seem intimidating to build your own charcuterie board from scratch, it’s actually quite simple. In this section, we will provide a step-by-step guide to help you create a stunning charcuterie board that will impress your friends and family.
Step 1: Select a Board or Platter
The first step in building a charcuterie board is to select a suitable board or platter. You can choose from a variety of options, including wooden boards, slate boards, or even marble slabs. The size of the board will depend on the number of guests you plan to serve. Make sure the board is large enough to accommodate all the ingredients without overcrowding.
Step 2: Gather Your Ingredients
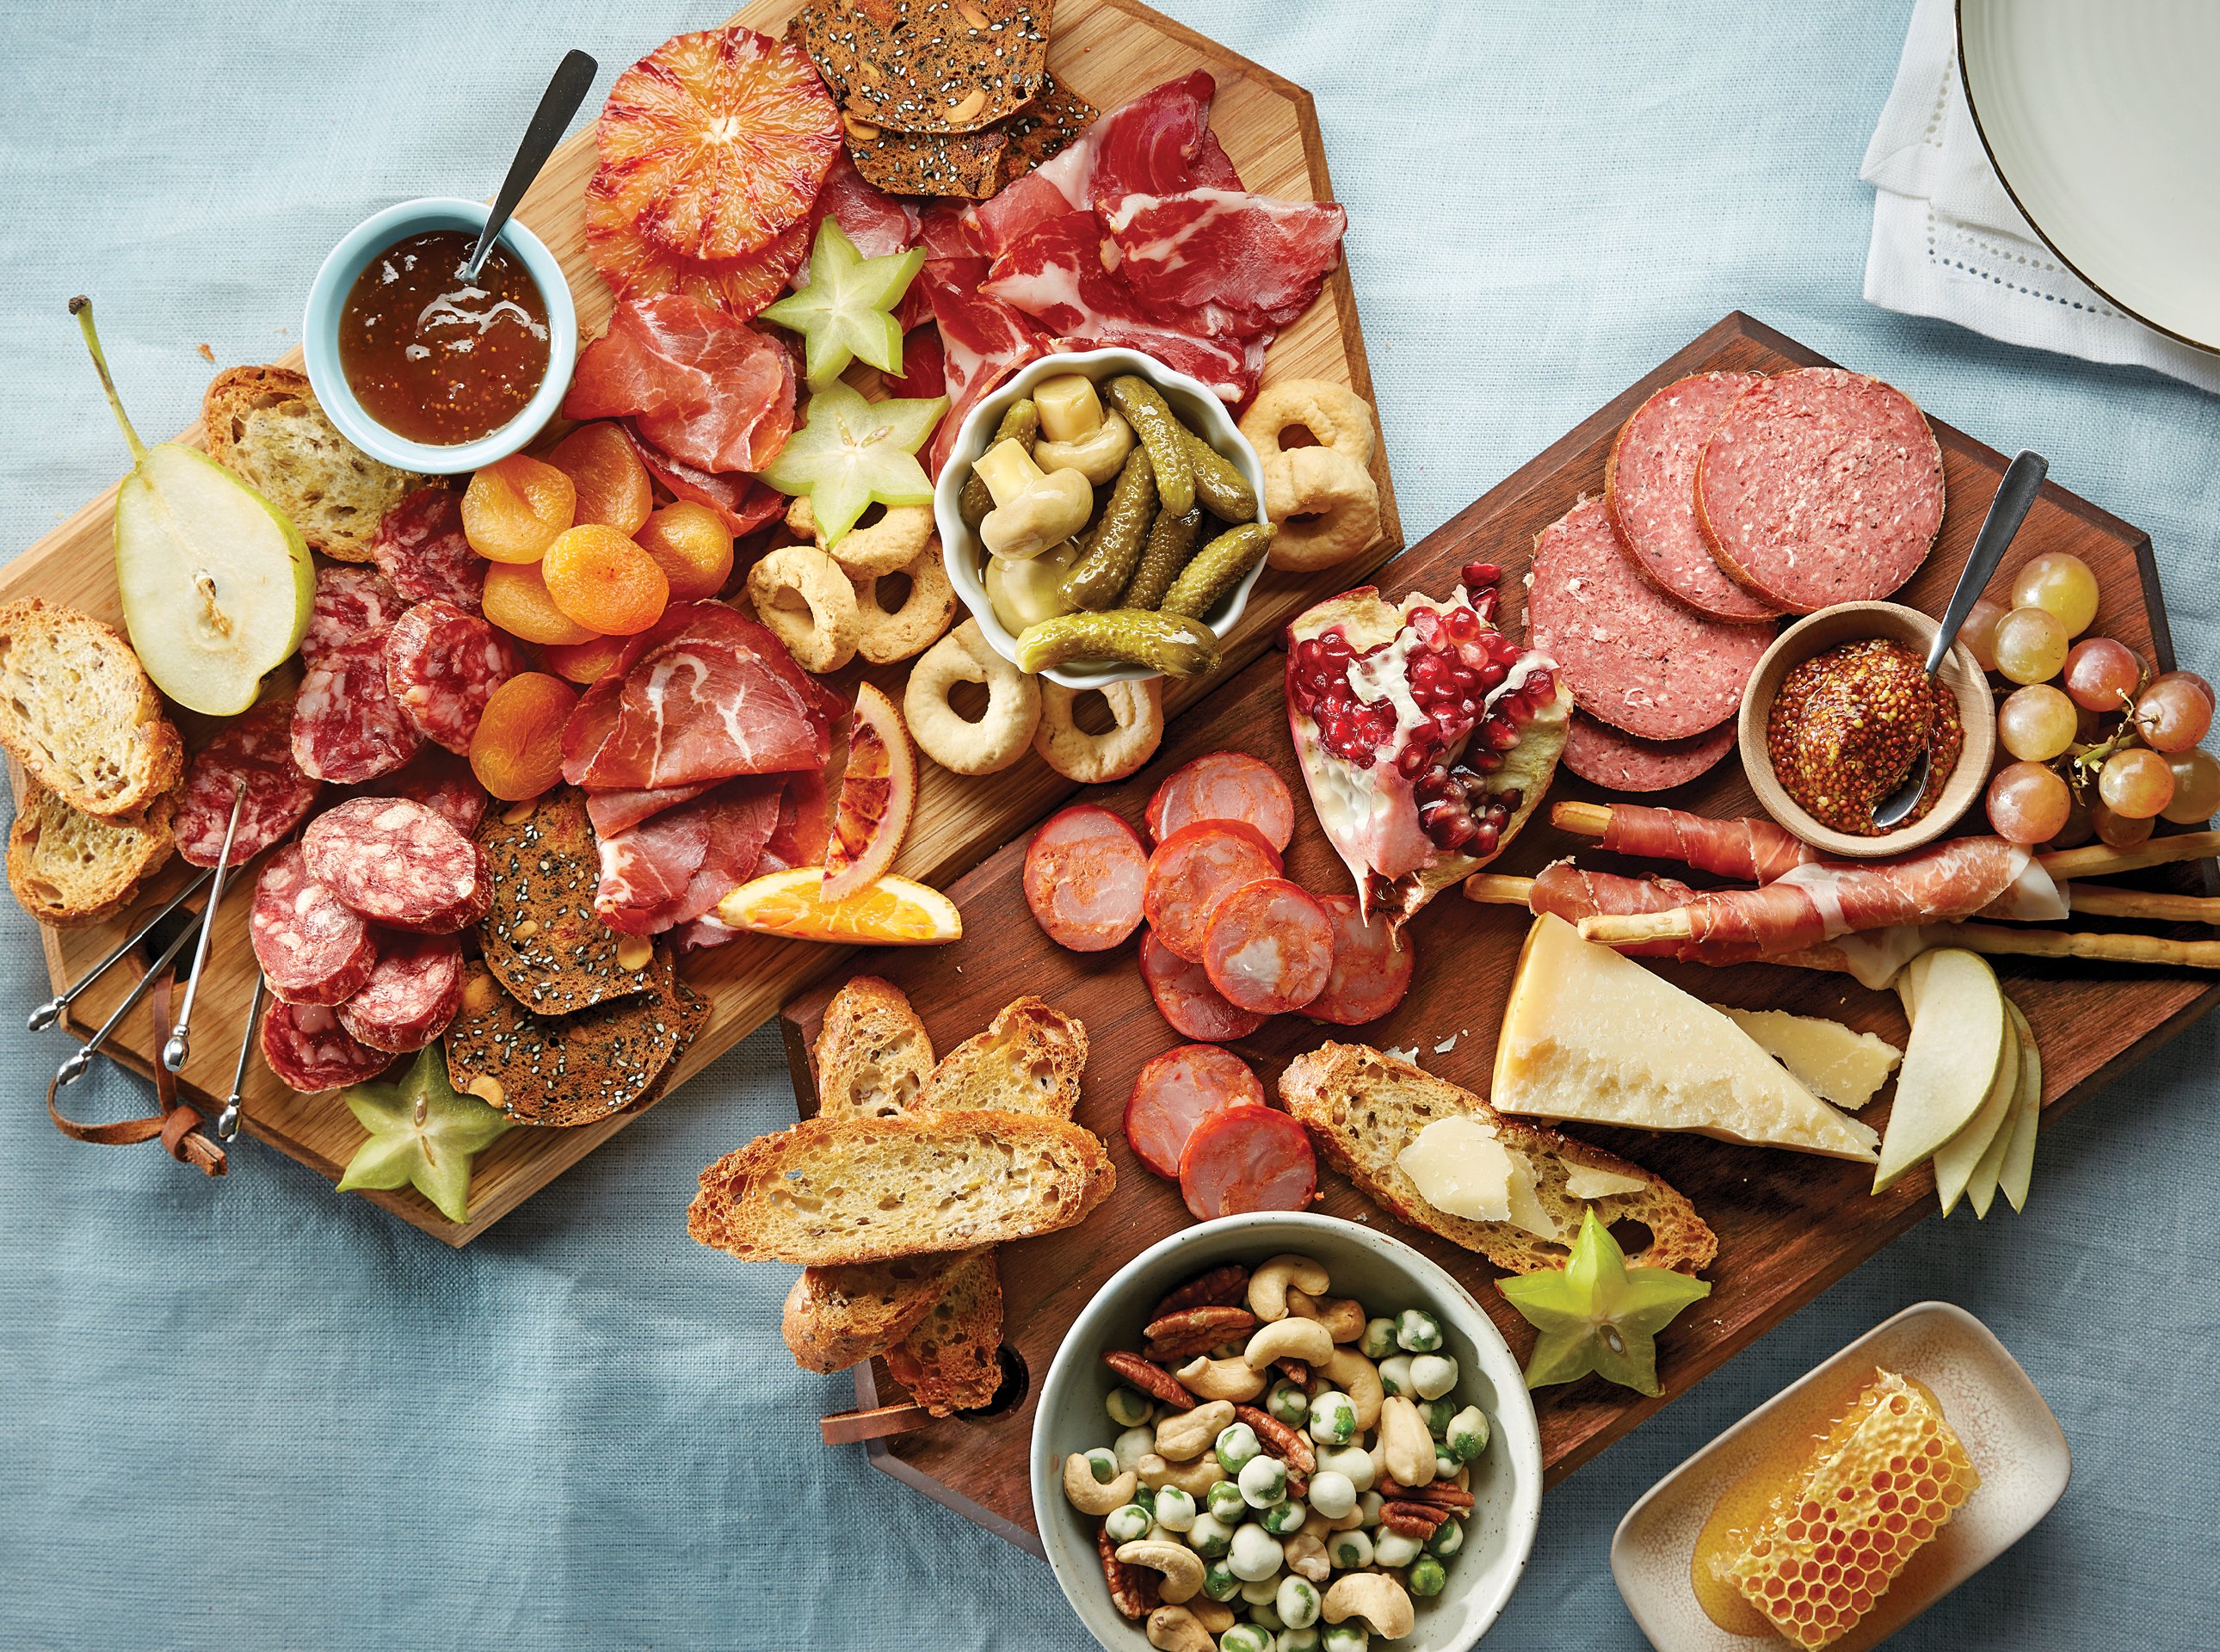
Next, gather all the ingredients you will need to create your charcuterie board. The key components include:
- Assorted cured meats such as prosciutto, salami, and chorizo
- A selection of cheeses, including both hard and soft varieties
- Crackers or bread to serve as a vehicle for the meats and cheeses
- Olives, pickles, or other briny items for added flavor
- Nuts, such as almonds or walnuts, for crunch
- Fresh or dried fruits, like grapes, figs, or apricots
- Optional condiments like honey, mustard, or chutney
Step 3: Arrange the Meats and Cheeses
Now it’s time to arrange the cured meats and cheeses on your board. Start by placing a few slices of each meat in an attractive pattern. Fold or roll the slices to add visual interest. Next, choose a variety of cheeses and cut them into bite-sized pieces. Arrange them alongside the meats, alternating colors and textures for an eye-catching display.
Step 4: Add the Accompaniments
Once the meats and cheeses are in place, it’s time to add the accompaniments. Scatter the crackers or bread throughout the board, ensuring there are plenty for guests to enjoy with each bite. Add small bowls or dishes for the olives, pickles, nuts, and condiments. This helps keep everything organized and prevents flavors from mixing.
Step 5: Garnish and Decorate
To add the finishing touches to your charcuterie board, garnish and decorate it with fresh herbs, edible flowers, or other visually appealing elements. This will elevate the presentation and make your board even more enticing. Remember, the goal is not only to create a delicious spread but also to make it visually stunning.
Step 6: Serve and Enjoy
Once you have completed arranging and decorating your charcuterie board, it’s time to serve and enjoy. Place the board in the center of the table or on a designated serving area and invite your guests to dig in. Encourage them to mix and match the various components to create their own unique flavor combinations.
In summary, building a charcuterie board from scratch is a simple and enjoyable process. By following this step-by-step guide, you can create a stunning and delicious spread that will impress your guests. So, gather your ingredients, get creative with your arrangement, and enjoy the art of building a charcuterie board.
Finishing and Sealing Techniques for a Long-lasting Wood Charcuterie Board
When it comes to creating a beautiful and functional wood charcuterie board, the finishing and sealing techniques you use are crucial. Not only do they enhance the natural beauty of the wood, but they also protect it from moisture, stains, and wear. In this section, we will discuss some effective finishing and sealing techniques that will help you create a long-lasting charcuterie board.
1. Sanding
The first step in preparing your charcuterie board for finishing is sanding. Sanding helps to smooth out any rough patches, uneven surfaces, or imperfections in the wood. Start with a coarse-grit sandpaper to remove any prominent flaws, and gradually work your way up to a finer grit for a smooth and polished surface. Make sure to sand both the top and bottom surfaces, as well as the edges, to achieve a uniform finish.
2. Food-Safe Finish
When choosing a finish for your charcuterie board, it is important to select a food-safe option that will not leach any harmful chemicals into the food. Some popular food-safe finishes include mineral oil, beeswax, and food-grade butcher block oil. These finishes not only provide a protective barrier but also enhance the wood’s natural grain and color.
3. Applying the Finish
To apply the finish, start by wiping the board clean to remove any dust or debris. Use a clean, lint-free cloth or a brush to evenly apply the finish, following the manufacturer’s instructions. Make sure to coat all surfaces of the board, including the edges. Allow the finish to penetrate the wood for the recommended drying time, and then wipe off any excess with a clean cloth.
4. Sealing the Board
Sealing your charcuterie board is essential to protect it from moisture and stains. One common method of sealing is using a food-grade epoxy resin. This creates a waterproof and durable barrier that prevents liquids from seeping into the wood. Follow the manufacturer’s instructions for mixing and applying the epoxy resin, and make sure to work in a well-ventilated area.
5. Maintenance
To ensure the longevity of your charcuterie board, it is important to perform regular maintenance. After each use, wash the board with mild soap and warm water, and dry it thoroughly. Avoid soaking the board or leaving it submerged in water for extended periods. Regularly apply a fresh coat of food-grade finish or mineral oil to keep the wood nourished and protected.
In summary, finishing and sealing your wood charcuterie board is essential for both its longevity and aesthetic appeal. By following these techniques and using food-safe finishes, you can create a stunning and durable charcuterie board that will impress your guests for years to come. Remember to regularly maintain and care for your board to keep it in optimal condition. Now you can confidently showcase your woodworking skills and enjoy the art of entertaining with your beautifully finished charcuterie board!
Creative Design Ideas to Personalize Your Wood Charcuterie Board
A wood charcuterie board is more than just a serving platter. It’s a piece of functional art that adds charm and elegance to any gathering. Whether you’re hosting a dinner party or enjoying a cozy night in, personalizing your wood charcuterie board can take it to the next level. Here are some creative design ideas to inspire you:
1. Custom Engraving
One of the most popular ways to personalize a wood charcuterie board is through custom engraving. You can have your initials, family name, or a special message engraved onto the surface of the board. This adds a unique touch and makes it truly one-of-a-kind. Consider using a beautiful script font or a design that reflects your personal style.
2. Inlay Artwork
If you’re looking to elevate the design of your charcuterie board, consider incorporating inlay artwork. This technique involves embedding contrasting materials, such as metal or resin, into the wood surface. You can choose a design that complements your home decor or opt for a nature-inspired motif, like leaves or flowers.
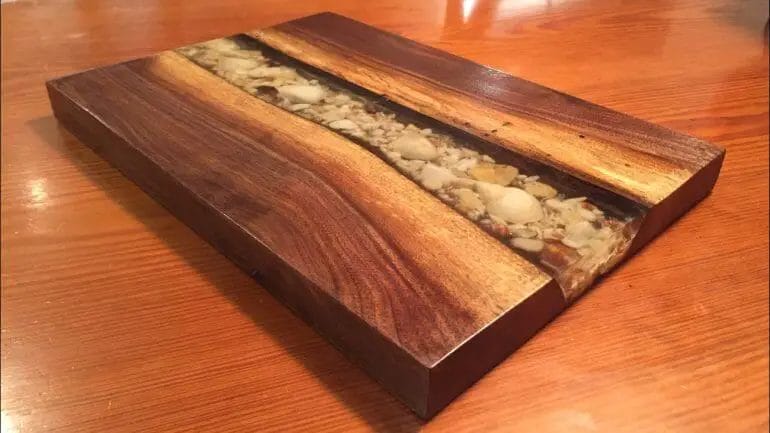
3. Colored Resin Fill
Add a pop of color to your wood charcuterie board by filling the natural imperfections, such as cracks or knots, with colored resin. This creates a stunning and eye-catching effect, highlighting the unique character of the wood. Choose a color that matches your table setting or go for a bold contrast to make a statement.
4. Burned Designs
Burning designs onto the wood surface is another creative way to personalize your charcuterie board. This technique, known as pyrography, allows you to create intricate patterns or images using a heated tool. You can add floral motifs, geometric shapes, or even personalized monograms. The burned designs add a rustic and artisanal touch to your board.
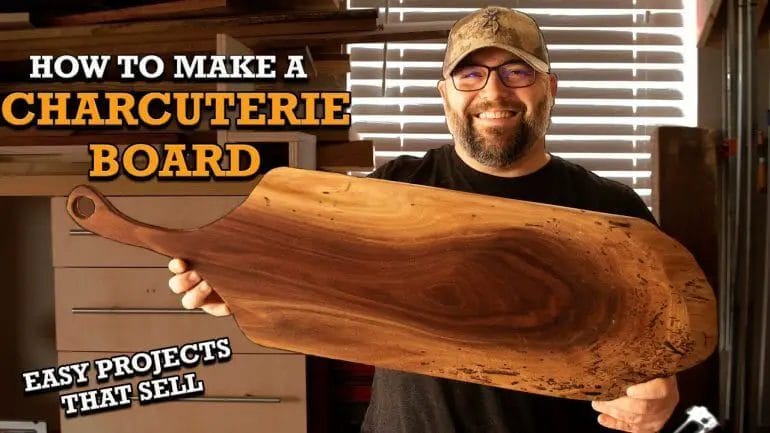
5. Natural Edge Finish
If you want to embrace the natural beauty of the wood, consider leaving the edges of your charcuterie board with a natural finish. This showcases the organic shape and grain pattern of the wood, giving it a more rustic and authentic look. You can enhance the natural edge with a food-safe oil or wax to protect and preserve the wood.
6. Mixed Wood Species
Create visual interest by using a combination of different wood species in your charcuterie board. Choose woods with contrasting colors and grain patterns to create a striking design. The mix of woods adds depth and dimension to your board, making it a conversation starter during your gatherings.
7. Personalize with Accessories
In addition to modifying the wood itself, you can personalize your charcuterie board with accessories. Add decorative handles or metal accents to enhance its visual appeal. You can also include a small ceramic dish for dips or a cheese knife set that matches your board’s design. These accessories not only add functionality but also elevate the overall look of your serving platter.
In summary, personalizing your wood charcuterie board allows you to infuse your own style and creativity into a functional piece of art. Whether you choose custom engraving, inlay artwork, or burned designs, the possibilities are endless. With these creative design ideas, your charcuterie board will become a focal point at your next gathering and leave a lasting impression on your guests.
Frequently Asked Questions
1. How can I build a charcuterie board out of wood?
To build a charcuterie board out of wood, you will need a piece of hardwood, such as oak or walnut. Start by cutting the wood to your desired size and shape. Sand the board to smooth out any rough edges. Finish it with food-safe oil or beeswax for a polished look.
2. What type of wood is best for a charcuterie board?
Hardwoods like oak, walnut, maple, and cherry are ideal for charcuterie boards. These woods are durable, have a beautiful grain pattern, and are resistant to moisture and bacteria. Avoid using softwoods or plywood, as they may not hold up well over time.
3. How do I maintain and clean a wooden charcuterie board?
To maintain and clean a wooden charcuterie board, wash it with warm soapy water after each use. Avoid soaking the board or putting it in the dishwasher as it can warp or crack. Regularly oil or wax the board to keep it moisturized and protected from drying out.
Conclusion
In conclusion, building a charcuterie board out of wood can be a fun and rewarding DIY project. Whether you’re a seasoned woodworker or a beginner, the process is relatively straightforward and can be customized to fit your personal style and preferences. With the right tools and materials, you can create a stunning charcuterie board that not only serves as a functional piece but also adds a touch of rustic charm to your dining table.
Remember to choose a high-quality wood that is food-safe and durable, such as maple or walnut. Pay attention to the size, shape, and design of the board to ensure it accommodates a variety of meats, cheeses, fruits, and other tasty treats. By following these steps, you’ll be able to impress your guests with a beautifully crafted wooden charcuterie board that enhances the presentation and enjoyment of your culinary creations.