Looking to unleash your creativity with wood carving? Our beginner’s guide is here to help you master the art of carving wood. Whether you want to create intricate designs or simple shapes, we’ve got you covered. Discover the essential tools, techniques, and safety tips to get started on your woodworking journey. Unlock the potential of this timeless craft and carve out beautiful wooden masterpieces with confidence.
Choosing the Right Type of Wood for Carving
When it comes to wood carving, choosing the right type of wood is essential for a successful and satisfying carving experience. Different types of wood have different characteristics that can greatly affect the outcome of your carving project. In this section, we will explore some key factors to consider when selecting the right type of wood for carving.

1. Hardness
The hardness of the wood is a crucial factor to consider when choosing wood for carving. Hardwoods, such as walnut, oak, and mahogany, are ideal for intricate and detailed carvings because they are durable and can hold intricate patterns. Softwoods, such as pine and cedar, are easier to carve but may not be suitable for intricate designs.
2. Grain Structure
The grain structure of the wood can greatly impact the carving process and the final appearance of your carving. Straight-grained woods, like basswood and cherry, are easier to carve and are ideal for beginners. They also provide a smooth finish. On the other hand, woods with pronounced grain patterns, like oak or ash, can add character and depth to your carving but may be more challenging to work with.
3. Availability
Consider the availability of the wood species in your area. Some woods may be more readily available, while others may be harder to find or more expensive. It’s essential to choose a wood that you can easily source to ensure a consistent supply for your carving projects.
4. Durability
Depending on the intended use of your carving, you may need to consider the durability of the wood. If you are creating decorative carvings that will be displayed indoors, softer woods may be sufficient. However, if you are carving functional items like utensils or walking sticks, you will need a harder and more durable wood that can withstand daily use.
5. Workability
Consider your skill level and experience in wood carving. Some woods, like basswood and butternut, are known for their ease of carving and are suitable for beginners. Other woods, like ebony or rosewood, are harder and may require more advanced carving techniques. It’s important to choose a wood that matches your skill level and allows you to achieve your desired carving results.
6. Finishing
Finally, consider how the wood will accept finishes and stains. Some woods, like maple or birch, have a tight grain and can be easily stained or painted. Others, like oak or mahogany, have a more open grain and may require additional preparation for a smooth finish. Understanding the characteristics of the wood will help you determine the best finishing techniques for your carving project.
By considering these factors, you can choose the right type of wood for your carving project, ensuring a successful and rewarding experience. Remember to always practice proper safety measures when working with wood and use appropriate tools and protective equipment.
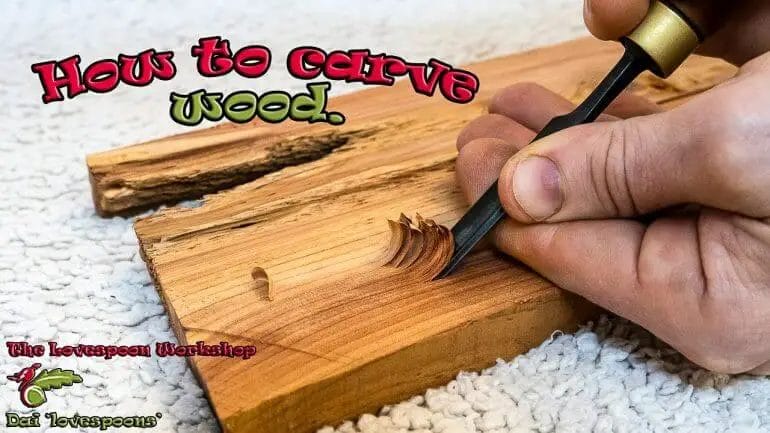
Basic Wood Carving Techniques for Beginners
If you are a beginner looking to delve into the world of wood carving, you have come to the right place. Wood carving is a timeless craft that allows you to transform a simple piece of wood into a beautiful work of art. But before you embark on your wood carving journey, it’s essential to understand some basic techniques that will set you on the right path.
1. Choosing the Right Wood
The first step in wood carving is selecting the right wood for your project. Different types of wood have different characteristics and carving properties. Generally, softer woods like basswood and pine are recommended for beginners. They are easier to work with and less likely to cause accidents. As you gain experience, you can explore harder woods like oak and walnut.
2. Preparing Your Tools
Having the right tools is crucial for wood carving. Start with a basic set of carving tools, including a carving knife, gouges, and chisels. Ensure that your tools are sharp and properly maintained. Dull tools can make carving difficult and increase the risk of accidents. Keep your tools clean and oiled to prolong their lifespan.
3. Practicing Proper Safety Measures
Wood carving involves working with sharp tools, so safety should be a top priority. Always wear safety goggles to protect your eyes from flying wood chips. Use a carving glove or thumb guard to protect your hand while carving. It’s also essential to have a stable work surface and secure the wood in a vice or clamp to prevent slipping.
4. Mastering the Basic Cuts
Understanding the basic cuts is fundamental in wood carving. There are three primary cuts that you need to learn:
- Push Cut: This involves pushing the knife or chisel away from your body while applying pressure.
- Stop Cut: A stop cut is used to define the edge of a design by making a shallow groove in the wood.
- Slicing Cut: This cut involves slicing the knife or chisel across the grain of the wood to remove thin layers.
5. Starting with Simple Projects
As a beginner, it’s best to start with simple projects to hone your skills and gain confidence. Choose a project with basic shapes and gradually progress to more intricate designs. Simple projects like carving a spoon or a small figurine will allow you to practice different techniques and familiarize yourself with the grain of the wood.
6. Developing Patience and Persistence
Wood carving is a skill that requires patience and persistence. It takes time to develop the necessary skills and create intricate designs. Don’t get discouraged by initial setbacks or mistakes; instead, view them as opportunities to learn and improve. With regular practice and dedication, you will see your carving skills improve over time.
7. Finishing and Sealing Your Carvings
Once you have completed your wood carving project, it’s essential to finish and seal it to enhance its appearance and protect it from damage. Sand the surface of your carving using sandpaper or finer grits to smoothen any rough areas. Apply a wood finish or sealant of your choice to protect the wood and bring out its natural beauty.
In summary, wood carving is a rewarding craft that allows you to unleash your creativity and create beautiful works of art. By following these basic techniques for beginners, you will be well on your way to mastering the art of wood carving. Remember to prioritize safety, practice regularly, and be patient with yourself. Happy carving!
Safety Tips for Wood Carving Beginners
Wood carving is a fulfilling and creative hobby that allows you to transform a simple piece of wood into a beautiful work of art. However, like any other craft, it is important to prioritize safety to minimize the risk of accidents or injuries. Whether you are a beginner or an experienced wood carver, here are some essential safety tips to keep in mind:
1. Use the Right Tools and Equipment
Before starting any wood carving project, make sure you have the appropriate tools and equipment. Invest in high-quality carving knives, gouges, and chisels that are specifically designed for wood carving. Dull or damaged tools can slip and cause accidents, so ensure that your tools are sharp and properly maintained.
2. Wear Protective Gear
Always wear appropriate protective gear when wood carving. Safety goggles or glasses will protect your eyes from flying wood chips, while a dust mask will prevent you from inhaling wood dust, which can be harmful to your respiratory system. Additionally, consider wearing protective gloves to protect your hands from accidental cuts or splinters.
3. Choose the Right Wood
When selecting wood for your carving projects, choose a type that is suitable for carving. Some woods are easier to work with, while others may be more challenging for beginners. Softwoods like basswood and pine are popular choices for beginners due to their ease of carving. Avoid using wood with knots, cracks, or other structural flaws, as they can make carving more difficult and dangerous.
4. Work in a Well-Ventilated Area
Wood carving can generate a significant amount of dust and debris. To keep your workspace clean and safe, carve in a well-ventilated area. Good airflow will help minimize dust accumulation and prevent respiratory issues. If possible, set up a dust collection system or use a portable dust extractor to capture wood dust at the source.
5. Secure Your Workpiece
Before you start carving, ensure that your workpiece is securely held in place. Use clamps or a vise to secure the wood to your workbench. This will prevent the wood from slipping or moving while you carve, reducing the risk of accidents. It is also important to position your body and hands in a way that allows for proper control and stability.
6. Take Your Time and Start with Simple Projects
As a beginner, it is important to start with simple projects and gradually work your way up to more complex designs. Rushing through a carving can lead to mistakes and accidents. Take your time, plan your cuts carefully, and practice proper carving techniques. Remember, wood carving is a skill that takes time and patience to master.
7. Learn Proper Carving Techniques
Proper carving techniques are essential for safe and effective wood carving. Take the time to learn and practice the correct carving techniques. Attend workshops or classes, watch tutorial videos, or seek guidance from experienced wood carvers. Learning the proper techniques will not only improve your carving skills but also minimize the risk of accidents.
8. Keep Your Tools Sharp and Clean
Sharp tools are safer to use as they require less force and are less likely to slip. Regularly sharpen your carving tools to maintain their cutting edge. Additionally, clean your tools after each use to remove any wood particles or debris that may affect their performance. Proper tool maintenance will ensure a safer carving experience.
9. Stay Focused and Avoid Distractions
Wood carving requires concentration and focus. Avoid distractions that could compromise your safety, such as talking on the phone or listening to loud music. Give your full attention to the carving process to prevent accidents and mistakes.
10. Take Breaks and Rest
Wood carving can be physically demanding, especially if you are working on a large project for an extended period. Take regular breaks to rest your hands and body. This will help prevent fatigue, which can lead to reduced focus and increased risk of accidents.
By following these safety tips, you can enjoy the art of wood carving while minimizing the risk of injuries. Remember, safety should always be a top priority in any woodworking endeavor.
Easy Wood Carving Projects for Beginners
If you are new to the world of wood carving, it can be overwhelming to know where to start. However, with the right guidance and a few basic tools, you can embark on your wood carving journey with confidence. In this section, we will explore some easy wood carving projects that are perfect for beginners.
1. Whittling a Basic Spoon
One of the simplest and most rewarding wood carving projects for beginners is whittling a basic spoon. All you need is a small pocket knife and a piece of softwood, such as basswood. Start by sketching the shape of the spoon on the wood and then carefully carve away the excess wood using your knife. Take your time and remember to keep your knife sharp for clean and precise cuts. Once you have carved the basic shape, you can refine the edges and add decorative details to personalize your spoon.
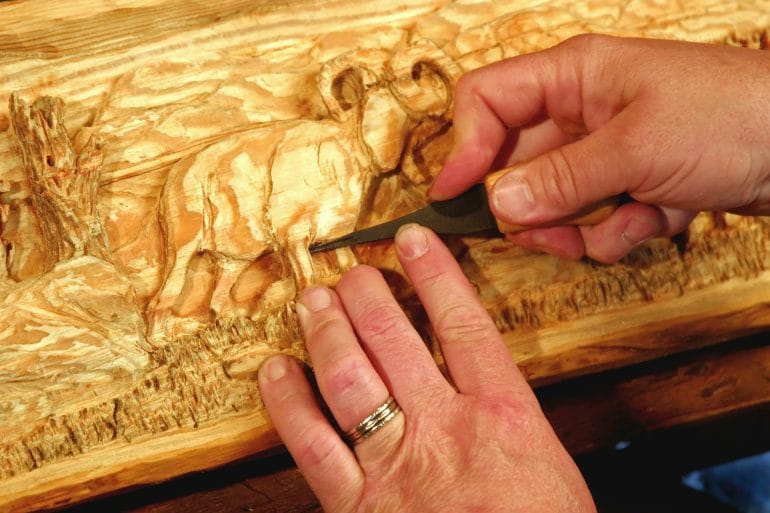
2. Carving a Wildlife Figure
If you have an interest in animals or nature, carving a wildlife figure can be a great project for you. Choose a simple animal, such as a bird or a squirrel, and find a reference image to work from. Transfer the image onto a piece of wood and start carving away the excess wood to reveal the shape of the animal. Use different carving techniques, such as relief carving or chip carving, to add texture and details to your figure. Remember to work slowly and carefully, making small adjustments as needed.
3. Creating a Wooden Keychain
A wooden keychain is a small and practical project that allows you to practice your carving skills on a smaller scale. Start by selecting a small piece of hardwood, such as oak or cherry. Sketch the design of your keychain onto the wood or use a stencil for guidance. Carefully carve away the excess wood, shaping it into your desired design. Once you are satisfied with the shape, sand the surface smooth and add a coat of varnish or sealant to protect the wood.
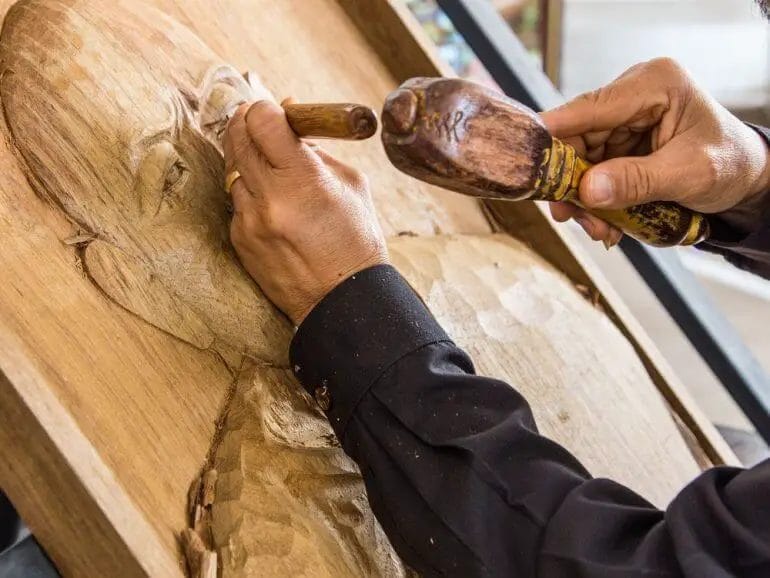
4. Relief Carving a Decorative Wall Plaque
If you are looking for a slightly more challenging project, try relief carving a decorative wall plaque. Choose a design that appeals to you, such as a floral pattern or a geometric motif. Trace the design onto a piece of hardwood and use carving tools to create depth and dimension by carving away certain areas of the wood while leaving others raised. Take your time and work slowly, paying attention to the details. Once you have finished carving, sand the surface smooth and apply a finish to enhance the beauty of your plaque.
5. Carving a Wooden Spoon
A wooden spoon is a classic wood carving project that allows you to combine both functionality and creativity. Start by selecting a hardwood, such as maple or walnut, that is suitable for kitchen utensils. Sketch the shape of the spoon onto the wood and carefully carve away the excess wood using carving tools. Pay attention to the curvature of the spoon bowl and the handle, ensuring that they are comfortable to use. Once the carving is complete, sand the surface smooth and apply a food-safe finish to protect the wood.
In summary, wood carving can be an enjoyable and fulfilling hobby for beginners. By starting with simple projects and gradually building your skills, you can develop your own unique style and create beautiful pieces of art. Remember to always prioritize safety and take your time to ensure precise and accurate carving. Happy carving!
FAQs
1. How can beginners learn to carve wood?
Beginners can start by learning the basic techniques of wood carving, such as choosing the right tools, practicing proper safety precautions, and starting with simple projects. Taking a beginner’s wood carving class or following online tutorials can also be helpful.
2. What tools and materials do I need to carve wood?
To carve wood, you will need basic tools like carving knives, gouges, and a mallet. Additionally, a workbench or sturdy table, safety gloves, and protective eyewear are essential. Wood carving projects require different types of wood, such as basswood or butternut, depending on the project’s complexity.
3. Are there any safety precautions I should take while wood carving?
Yes, safety is crucial while wood carving. Always use sharp tools to avoid slipping and injuring yourself. Wear protective gear, such as safety goggles and gloves, to protect your eyes and hands. Make sure your work area is well-lit and clear of any distractions or obstacles that could cause accidents.
Conclusion
In conclusion, learning how to carve wood can be a rewarding and fulfilling journey for beginners. By starting with the right tools and techniques, anyone can develop the skill to create beautiful wooden masterpieces. Whether you are interested in whittling, relief carving, or even sculpture, there are endless possibilities for expression and creativity. Remember to always prioritize safety and take your time to learn and practice the fundamentals. Don’t be discouraged by mistakes or setbacks, as they are part of the learning process. With patience, dedication, and a passion for woodworking, you can become a skilled wood carver in no time. So, grab your tools and let your imagination carve its way through the wood!
