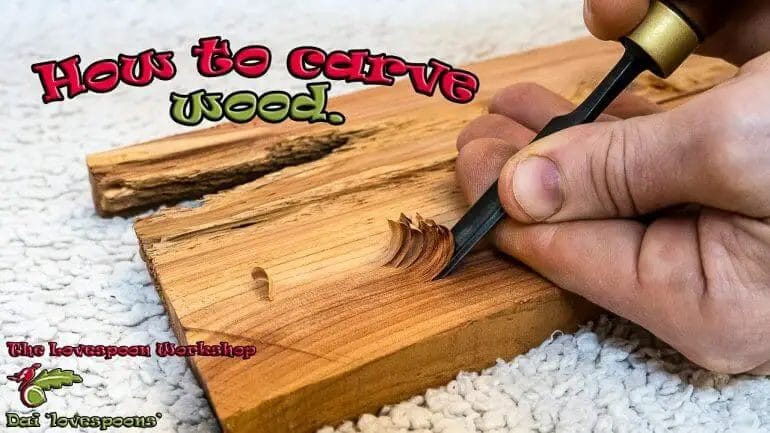
Learning to carve wood is a rewarding and creative skill that allows you to bring your artistic vision to life. Whether you’re a beginner or looking to enhance your existing carving abilities, this guide will provide you with the essential steps to get started. From selecting the right wood and tools to mastering carving techniques, you’ll gain the knowledge and confidence needed to create intricately carved masterpieces. So, grab your tools and let’s dive into the wonderful world of wood carving!
Choosing the Right Wood for Woodcarving Projects
Woodcarving is a fascinating craft that allows individuals to express their creativity and create beautiful works of art. However, choosing the right wood for your woodcarving projects is essential to ensure the success and longevity of your finished pieces. In this section, we will explore some factors to consider when selecting wood for woodcarving and provide a list of popular wood choices for beginners and experienced woodcarvers.

Factors to Consider
When choosing wood for your woodcarving projects, there are several factors to consider. These factors will affect the ease of carving, the final appearance, and the durability of your finished piece. Here are some important factors to keep in mind:
- Hardness: Different types of wood have varying levels of hardness. Harder woods may be more challenging to carve but will result in a more durable finished product.
- Grain: The grain pattern in wood can add visual interest and enhance the overall beauty of your carving. Consider the direction and pattern of the grain when selecting your wood.
- Availability: Some types of wood may be more readily available in your area than others. Consider the availability and cost of the wood when making your selection.
- Stability: Certain woods are more prone to warping or cracking than others. For intricate or delicate carvings, it is important to choose a wood that is stable and less likely to deform over time.
Popular Wood Choices
Now that we have discussed the factors to consider when choosing wood for woodcarving, let’s explore some popular wood choices that are commonly used by both beginners and experienced woodcarvers:
| Wood Type | Characteristics | Uses |
|---|---|---|
| Basswood | Soft and easy to carve, minimal grain pattern, ideal for detailed carvings | Sculptures, figurines, ornamental carvings |
| Maple | Hardwood with a tight grain, holds details well, finishes smoothly | Bowls, utensils, furniture accents |
| Cherry | Medium density, smooth texture, rich color, carves well | Decorative boxes, handles, small carvings |
| Walnut | Hardwood with pronounced grain, deep brown color, carves well | Furniture, panels, decorative carvings |
| Butternut | Softwood with a rich color, easy to carve, pronounced grain | Figurines, decorative carvings, relief carvings |
These are just a few examples of popular wood choices for woodcarving. Experimenting with different types of wood will allow you to discover your personal preferences and create unique and stunning carvings.
In summary, choosing the right wood for your woodcarving projects is crucial for the success and longevity of your finished pieces. Consider factors such as hardness, grain pattern, availability, and stability when selecting your wood. Additionally, familiarize yourself with popular wood choices like basswood, maple, cherry, walnut, and butternut. With the right wood and proper techniques, you can create beautiful and intricate woodcarvings that showcase your talent and creativity.
Basic Woodcarving Techniques and Tips
Woodcarving is a timeless craft that allows individuals to unleash their creativity and bring beautiful pieces to life. Whether you are a beginner or an experienced woodcarver, mastering the basic techniques is essential. In this section, we will delve into the fundamental woodcarving techniques and provide you with some helpful tips to enhance your skills.
1. Choosing the Right Wood
The first step in woodcarving is selecting the right type of wood for your project. Different woods have different qualities, textures, and levels of hardness. Some popular choices for carving include basswood, butternut, and walnut. It is important to choose a wood that is relatively soft and easy to work with, especially if you are a beginner.
2. Tools of the Trade
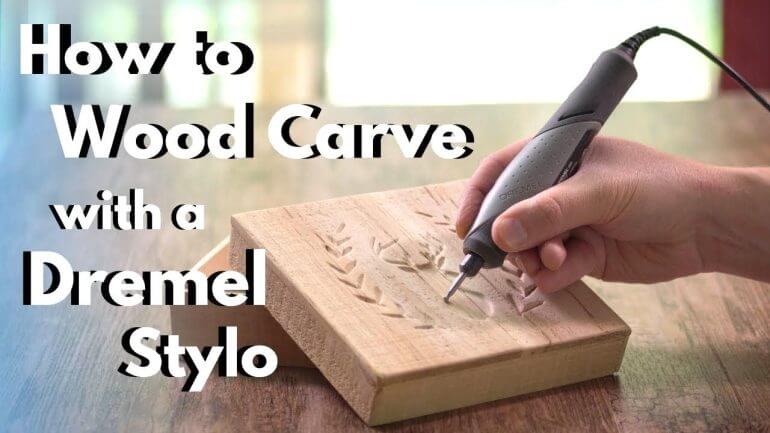
Having the right tools is crucial for achieving precision and detail in your woodcarving. Some essential tools for beginners include:
- Carving knives: A set of sharp, high-quality carving knives is essential for shaping and removing excess wood.
- Gouges: Gouges come in various shapes and sizes and are used for hollowing out and shaping concave surfaces.
- V-tools: V-tools create clean and crisp lines and are particularly useful for lettering and decorative details.
- Sanding and polishing tools: Sandpaper, files, and polishing compounds help refine the surface of your carving.
3. Basic Carving Techniques
Now, let’s explore some basic woodcarving techniques that will serve as the foundation for your projects:
- Whittling: Whittling involves shaping a piece of wood by removing slivers or chips using a carving knife. It is a versatile technique used for creating basic shapes and contours.
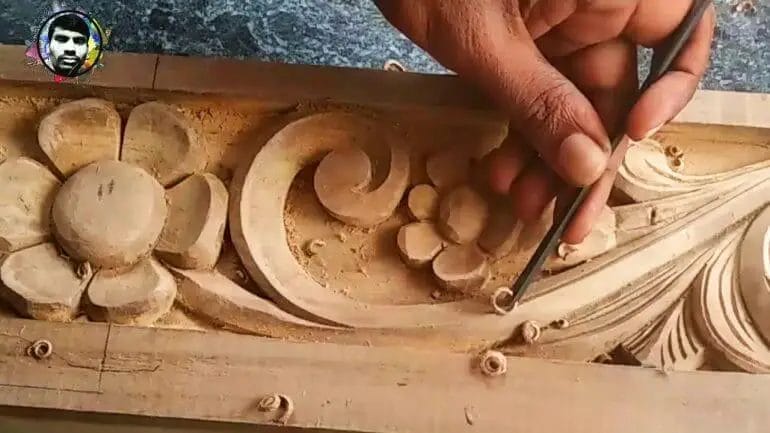
- Relief carving: Relief carving involves carving designs into a flat surface, leaving the design raised from the background. It requires careful planning and attention to detail.
- In-the-round carving: In-the-round carving involves carving a three-dimensional object, such as a figurine or a sculpture. This technique requires an understanding of form and proportion.
- Chip carving: Chip carving involves removing small chips of wood to create intricate patterns and designs. It requires precision and patience.
4. Safety Measures
Woodcarving involves sharp tools and can pose a risk if proper safety measures are not taken. Here are some essential safety tips to keep in mind:
- Always carve away from your body to avoid accidental injuries.
- Keep your tools sharp and well-maintained to ensure clean cuts and reduce the risk of slipping.
- Wear protective gear, such as safety goggles and gloves, to protect yourself from flying wood chips and accidental cuts.
- Work in a well-ventilated area to avoid inhaling wood dust.
5. Practice and Patience
Woodcarving is a skill that requires practice and patience. Don’t be discouraged if your first few attempts don’t turn out as expected. Keep practicing, experimenting with different techniques, and seeking inspiration from experienced woodcarvers. With time and dedication, you will improve and create stunning woodcarvings of your own.
In summary, woodcarving is an art form that allows individuals to transform a simple piece of wood into a work of art. By mastering the basic woodcarving techniques, choosing the right wood, using the proper tools, and following safety measures, you can embark on a fulfilling woodcarving journey. Remember, practice makes perfect, so keep honing your skills and embrace the beauty and intricacy of this timeless craft.
Step-by-Step Guide to Carving a Wooden Sculpture
Carving a wooden sculpture can be a rewarding and fulfilling creative process. Whether you are a beginner or an experienced artist, this step-by-step guide will help you navigate through the process of creating your own wooden masterpiece. Follow these steps to bring your vision to life:
1. Choose the Right Wood
The first step in carving a wooden sculpture is selecting the right type of wood. Different types of wood have varying characteristics, such as hardness, grain pattern, and color. Hardwoods like oak, cherry, or walnut are often preferred for carving due to their durability and workability. Softwoods like pine or cedar can also be used, but they may be more prone to damage.
2. Sketch Your Design
Before grabbing your tools, take some time to sketch out your design on paper. This will help you visualize the final sculpture and make any necessary adjustments before starting the carving process. Consider the size, proportions, and details of your sculpture as you sketch.
3. Gather the Necessary Tools
Next, gather all the tools you will need for the carving process. Essential tools for wooden sculpture carving include a woodcarving knife, a chisel set, gouges of various sizes and shapes, a mallet, and sandpaper for refining the surface. It is important to keep your tools sharp and in good condition for optimal results.
4. Start with Rough Shaping
Begin the carving process by using a roughing gouge or a carving knife to remove excess wood and shape the basic form of your sculpture. Focus on the larger areas first before moving on to the smaller details. Keep referring to your sketch to ensure you’re staying on track with your design.
5. Refine the Details
Once you have the rough shape of your sculpture, use smaller gouges and carving knives to refine the details. Pay attention to the curves, contours, and textures of your design. Take your time and work gradually, making small, precise cuts to achieve the desired result.
6. Smooth and Sand the Surface
After carving the details, use sandpaper to smooth the surface of the sculpture. Start with a coarse-grit sandpaper and gradually move to finer grits for a polished finish. Sanding will help remove any tool marks and imperfections, resulting in a refined and professional look.
7. Apply a Finish
Once you are satisfied with the shape and smoothness of your sculpture, it’s time to apply a finish. There are several options for finishing wooden sculptures, including varnish, oil, wax, or paint. Choose a finish that enhances the natural beauty of the wood and protects it from moisture.
8. Display and Enjoy Your Creation
After the finish has dried, carefully place your wooden sculpture in a suitable display area where it can be admired. Consider using a pedestal, shelf, or wall-mounted bracket to showcase your artwork. Take pride in your creation and enjoy the fruits of your labor.
Carving a wooden sculpture requires patience, practice, and attention to detail. Remember to always prioritize safety by wearing protective gear and using tools correctly. With time and dedication, you can create stunning wooden sculptures that will leave a lasting impression.
5. Finishing and Preserving Your Woodcarving Masterpiece
After spending countless hours meticulously carving your wood masterpiece, it’s important to properly finish and preserve it to ensure its longevity and enhance its beauty. The finishing process involves treating the wood to protect it from moisture, enhance the grain, and bring out the natural color of the wood. Additionally, preserving your woodcarving masterpiece will help maintain its quality over time and protect it from damage.
1. Sanding: Before applying any finish, it’s crucial to sand your woodcarving to create a smooth surface. Start with a coarse grit sandpaper and gradually work your way to finer grits for a polished finish. This process will remove any rough patches, tool marks, or imperfections, ensuring a flawless final result.
2. Staining: If desired, staining your woodcarving can add depth and richness to the wood grain, enhancing its overall appearance. Choose a stain color that complements the wood species and carefully apply it with a brush or cloth. Allow the stain to penetrate the wood for the recommended time, and then wipe off any excess stain.
3. Sealing: To protect the wood from moisture and other environmental factors, it’s important to seal your woodcarving. There are various sealing options available, including polyurethane, varnish, shellac, or wax. Choose a sealing product that suits your preferences and follow the manufacturer’s instructions for application. Apply thin, even coats, allowing each layer to dry completely before applying the next.
4. Finishing: Once the sealer has dried, it’s time to give your woodcarving its final finish. This step is optional but can add an extra layer of protection and enhance the appearance of the wood. Common finishing options include applying a layer of wax, using a wood oil or wood polish, or even using a lacquer spray. Again, follow the manufacturer’s instructions for the chosen finishing product.
5. Preservation: To maintain the quality of your woodcarving masterpiece, proper preservation is necessary. Keep it away from direct sunlight, extreme temperatures, and high humidity, as these can cause the wood to warp or deteriorate. Regularly dust your woodcarving with a soft, dry cloth to remove any dirt or debris. If needed, you can use a mild wood cleaner or conditioner to refresh the surface.
6. Display and Storage: When displaying your woodcarving masterpiece, choose a location that is free from excessive moisture, heat, or direct sunlight. Avoid placing it near sources of heat or air conditioning vents, as rapid changes in temperature and humidity can damage the wood. If you need to store your woodcarving for an extended period, wrap it in acid-free tissue paper or place it in a protective case to prevent dust accumulation and minimize the risk of accidental damage.
In summary, proper finishing and preservation techniques are essential for maintaining the beauty and longevity of your woodcarving masterpiece. By following these steps, you can ensure that your hard work and artistic talent are showcased for years to come.
FAQs
1. How can I learn to carve wood?
To learn wood carving, you can follow these steps:
1. Start by gathering the necessary tools, such as carving knives and chisels.
2. Find instructional resources like books, online tutorials, or classes to learn carving techniques.
3. Practice basic carving techniques on softwoods like pine or basswood.
4. Gradually work your way up to more complex projects, experimenting with different styles and designs.
2. What tools do I need to start wood carving?
Essential tools for wood carving include carving knives, chisels, gouges, mallets, sharpening stones, and a carving bench or vise to secure your workpiece. Beginners can start with a basic set of carving knives and gradually expand their tool collection as they gain experience.
3. Are there any safety precautions I should take while wood carving?
Yes, safety is important when wood carving. Some precautions include:
– Always wear protective goggles or glasses to protect your eyes from flying debris.
– Keep your carving tools sharp to prevent slipping and reduce the risk of accidents.
– Work in a well-ventilated area to avoid inhaling wood dust.
– Use a carving glove or thumb guard to protect your hand while holding the workpiece.
– Take breaks and rest your hands to avoid strain or injury.
Conclusion
In conclusion, learning to carve wood is a rewarding and fulfilling journey that allows individuals to tap into their creativity and produce beautiful pieces of art. By following the right techniques and investing time and effort, anyone can become proficient in wood carving. Whether you are a beginner or an experienced woodworker, there are many resources available, such as online tutorials, workshops, and books, to help you enhance your skills. Remember, practice makes perfect, so don’t be discouraged by initial challenges. With patience and dedication, you’ll develop the precision and finesse required to create stunning wood carvings that showcase your talent and passion.
Start by familiarizing yourself with the different types of carving tools and their uses. Experiment with various wood types and grain patterns to understand how they affect carving techniques. As you progress, consider joining a carving community or club where you can learn from and collaborate with other enthusiasts. Regularly challenge yourself with new projects and techniques to continue improving your craft. With time and perseverance, you’ll discover the joy and satisfaction that comes from mastering the art of wood carving.
