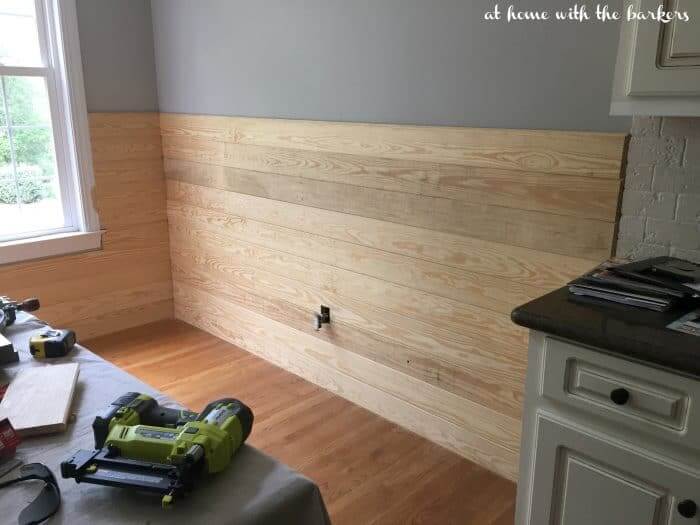
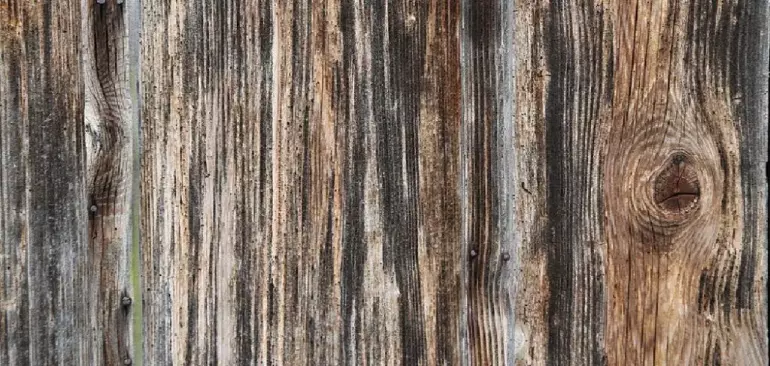
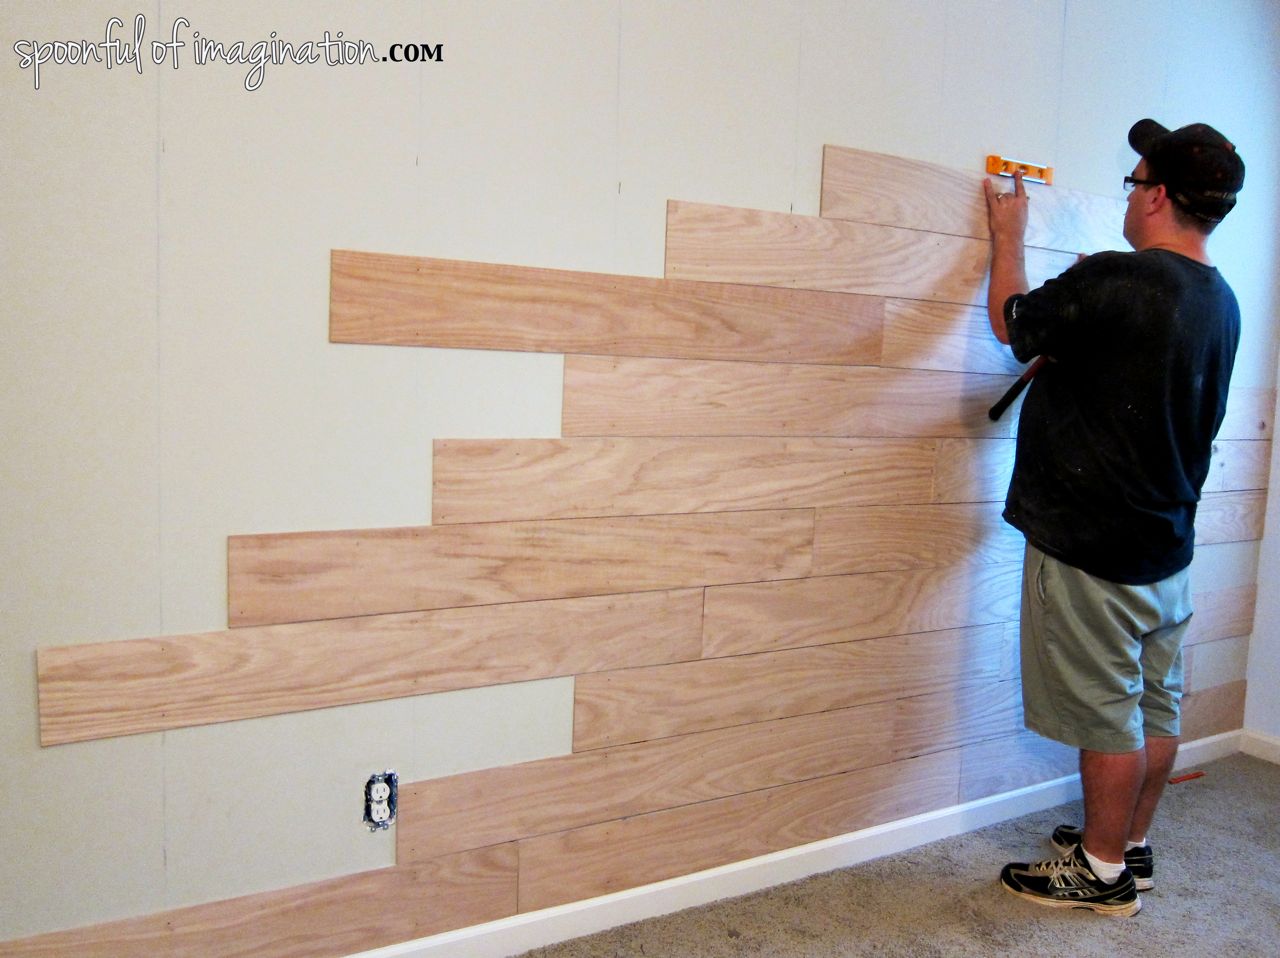
Looking to give your walls a rustic makeover? Installing wood wall planks is a perfect way to add warmth and character to any space. With just a few simple steps, you can transform your room into a cozy retreat.
To begin, gather all the necessary tools and materials, including the wood planks, a measuring tape, a level, a miter saw, adhesive, and a nail gun. Measure and mark the wall, ensuring accurate placement of each plank.

Next, apply adhesive to the back of each plank and press it firmly against the wall, starting from the bottom and working your way up. Use a level to ensure each plank is straight and even.
Once all the planks are secured, use a miter saw to trim any excess length or create custom angles. For added stability, you can also use a nail gun to secure each plank to the wall.
With the wood wall planks in place, step back and admire the beautiful transformation. Whether you choose a rustic or modern style, this DIY project is sure to make a statement in any room.

Preparing the Wall for Installation
Before you can begin installing a new wall, it is important to properly prepare the area to ensure a smooth and successful installation. Taking the time to properly prepare the wall will help to ensure that the finished product is structurally sound and visually appealing.
1. Clear the Area
The first step in preparing the wall for installation is to clear the area of any furniture, decorations, or other items that may be in the way. This will give you a clear space to work and help to prevent any accidents or damage to your belongings.
2. Remove Existing Wall Coverings
If there are any existing wall coverings, such as wallpaper or paint, it is important to remove them before installing a new wall. Use a scraper or sandpaper to remove any loose or peeling coverings, and then clean the wall surface with a damp cloth to remove any residue.
3. Repair Any Damage
Inspect the wall for any signs of damage, such as cracks, holes, or water damage. Repair any damage using spackle or a similar filler, and then sand the surface smooth. This will ensure that the wall is in good condition and ready for the installation.
4. Measure and Mark the Wall
Use a tape measure to measure the height and width of the wall, and mark these measurements on the adjacent walls or floor. This will serve as a guide during the installation process and help to ensure that the wall is installed straight and level.
5. Install Insulation and Vapor Barrier
If you are installing an interior wall, consider adding insulation and a vapor barrier to improve energy efficiency and protect against moisture. Cut insulation to fit between the wall studs, and secure it in place using staples or adhesive. Install a vapor barrier over the insulation, making sure to overlap the seams and secure it in place with tape or staples.
6. Prime the Wall Surface
Before installing the new wall, apply a coat of primer to the wall surface. This will help to create a smooth and even surface for the adhesive or fasteners to adhere to. Allow the primer to dry completely before proceeding with the installation.
7. Gather Necessary Tools and Materials
Before beginning the installation, gather all of the necessary tools and materials. This may include a level, measuring tape, adhesive or fasteners, a saw, and safety equipment such as goggles and gloves. Having everything on hand before you start will help to streamline the installation process.
By properly preparing the wall for installation, you can ensure that the finished product will be durable, secure, and aesthetically pleasing. Taking the time to clear the area, remove existing wall coverings, repair any damage, and properly prime the surface will set the stage for a successful installation.

Step-by-Step Installation Guide for Wood Wall Planks
Wood wall planks are a popular choice for adding a touch of warmth and character to any space. Whether you’re looking to upgrade your living room, bedroom, or even a feature wall in your office, wood wall planks can transform the look and feel of the room. If you’re considering installing wood wall planks on your own, we’ve put together a step-by-step guide to help you through the process.
Materials You’ll Need:
- Wood wall planks
- Measuring tape
- Pencil
- Saw
- Spackle
- Sanding block
- Level
- Nail gun or adhesive
- Finishing nails or screws
- Paint or stain (optional)
- Paintbrush or roller (optional)
Step 1: Prepare the Wall
Before you begin installing the wood wall planks, it’s important to prepare the wall surface. Remove any existing wallpaper, paint, or other coverings. Use spackle to fill in any holes or imperfections in the wall, and sand it smooth once dry. This will ensure a clean and even surface for the planks to adhere to.
Step 2: Measure and Mark
Measure the height and width of the wall to determine how many wood planks you’ll need. It’s always a good idea to purchase a few extra planks to account for any mistakes or cuts that may need to be made. Use a pencil to mark the desired height of the planks on the wall.
Step 3: Cut the Planks
Using a saw, cut the wood planks to the desired length. Remember to account for any trim or molding that may be needed at the top, bottom, or corners of the wall. It’s a good idea to label each plank with its corresponding location on the wall to make installation easier.
Step 4: Install the First Row
Starting at the bottom of the wall, use a level to ensure that the first row of planks is straight. Secure the planks to the wall using a nail gun or adhesive. If using nails, countersink them slightly and fill the holes with spackle for a seamless finish.
Step 5: Continue Installation
Working row by row, continue installing the wood planks using the same method as the first row. Use a level to ensure each row is straight and aligned with the previous row. Trim any planks as necessary to fit around outlets, windows, or other obstacles.
Step 6: Finishing Touches
Once all the planks are installed, inspect the wall for any gaps or imperfections. Use spackle to fill in any gaps between planks or around trim. Sand the spackle smooth once dry. If desired, you can paint or stain the wood wall planks to match your desired aesthetic. Apply the paint or stain using a brush or roller, following the manufacturer’s instructions.
Summary
Installing wood wall planks can be a rewarding and relatively simple DIY project. By following this step-by-step guide, you’ll be able to transform any room with the beauty and warmth of wood. Remember to take your time, measure accurately, and use the proper tools and materials for a successful installation. Enjoy your new wood wall planks!

Finishing and Sealing the Wood Wall Planks
Once you have successfully installed the wood wall planks, the next step is to finish and seal them. This is an important process that not only enhances the appearance of the planks but also protects them from moisture, stains, and damage. In this section, we will discuss the steps involved in finishing and sealing the wood wall planks.
Clean the Surface
Before you start the finishing process, it is essential to clean the surface of the wood wall planks. Use a gentle cleaner or a mixture of mild soap and water to remove any dust, dirt, or grease. Wipe the planks with a clean cloth or sponge and allow them to dry completely before proceeding to the next step.
Sand the Planks
Once the planks are dry, it is time to sand them. Sanding helps to smoothen the surface and remove any rough edges or imperfections. Start by using a medium-grit sandpaper and gradually move to finer grits for a smoother finish. Sand in the direction of the wood grain to achieve the best results. After sanding, make sure to wipe away any dust or debris using a tack cloth.
Apply Wood Stain
Applying a wood stain is an optional step, but it can add depth and richness to the appearance of the wood wall planks. Choose a wood stain color that complements the overall aesthetic of your space. Use a brush or cloth to apply the stain evenly on the planks, making sure to follow the manufacturer’s instructions for drying time and number of coats. Allow the stain to penetrate the wood and wipe off any excess stain with a clean cloth.
Protect with Sealant
The final step in finishing the wood wall planks is to apply a sealant. A sealant not only protects the wood from moisture but also provides a barrier against stains and damage. There are various types of sealants available, such as polyurethane, varnish, or wax. Choose a sealant that is suitable for your specific needs and follow the manufacturer’s instructions for application. Apply the sealant in thin, even coats, allowing each coat to dry completely before applying the next.
Maintain and Refresh
After finishing and sealing the wood wall planks, it is important to maintain and periodically refresh the finish. Avoid using harsh chemicals or abrasive cleaners that can strip away the protective layer. Instead, clean the planks regularly with a mild cleaner and a soft cloth. If the finish starts to wear off or becomes dull over time, you can refresh it by lightly sanding the surface and applying a new coat of sealant or stain.
Summary
Finishing and sealing the wood wall planks is a crucial step in the installation process. It not only enhances the appearance of the planks but also protects them from moisture, stains, and damage. The process involves cleaning the surface, sanding the planks, applying wood stain (optional), and sealing with a protective sealant. Regular maintenance and refreshing of the finish will ensure the longevity and beauty of your wood wall planks.
Maintenance Tips for Wood Wall Planks
Wood wall planks can add a touch of warmth and natural beauty to any space. Whether you have installed them in your living room, bedroom, or office, it is important to properly maintain them to ensure their longevity and keep them looking their best. Here are some maintenance tips to help you care for your wood wall planks:
1. Regular Cleaning
One of the most important steps in maintaining wood wall planks is regular cleaning. Dust and dirt can accumulate on the surface, dulling their appearance over time. Use a soft microfiber cloth or a dust mop to gently wipe the surface of the planks. Avoid using abrasive materials or harsh chemicals that can damage the wood.
2. Avoid Excessive Moisture
Wood is naturally porous and can absorb moisture. Excessive moisture exposure can cause the planks to warp, expand, or even develop mold. Avoid placing wood wall planks in areas prone to high humidity, such as bathrooms or kitchens. If you do have wood planks in these areas, use exhaust fans or dehumidifiers to control the moisture levels.
3. Protect from Direct Sunlight
Direct sunlight can cause wood to fade and lose its original color. To protect your wood wall planks from sunlight damage, consider using curtains or blinds to block out the sun during peak hours. You can also apply a protective coat of clear varnish or sealant to block harmful UV rays.
4. Regular Inspection
Periodically inspect your wood wall planks for any signs of damage, such as cracks, splinters, or loose pieces. Repair any issues promptly to prevent further damage. If you notice any water stains or discoloration, it may indicate a leak or moisture problem that needs to be addressed.
5. Proper Maintenance Products
When it comes to cleaning and maintaining wood wall planks, it is important to use the right products. Avoid harsh chemicals or abrasive cleaners that can damage the wood’s finish. Instead, opt for mild wood cleaners or natural solutions such as a mixture of vinegar and water. Always follow the manufacturer’s instructions for any cleaning or maintenance products.
6. Refinishing and Rejuvenation
Over time, the finish on wood wall planks may wear off or become dull. If this happens, you can consider refinishing the planks to restore their original beauty. Sanding and applying a fresh coat of stain or varnish can help rejuvenate the wood’s appearance. Always follow proper refinishing techniques and use appropriate protective gear.
By following these maintenance tips, you can ensure that your wood wall planks stay in top condition for years to come. Regular cleaning, avoiding excessive moisture exposure, protecting from direct sunlight, conducting regular inspections, using proper maintenance products, and considering refinishing when needed are key to keeping your wood wall planks looking their best. With proper care, you can enjoy the natural beauty of wood in your space for a long time.
FAQs
1. How do I install wood wall planks?
To install wood wall planks, start by preparing the surface by cleaning it and removing any existing wall coverings. Then, measure and mark the desired placement of the planks. Apply adhesive or use nails to secure the planks to the wall, starting from the bottom and working your way up. Trim the planks as needed and finish by caulking any gaps.
2. Can I install wood wall planks on any surface?
Wood wall planks can be installed on a variety of surfaces, including drywall, plywood, plaster, or even brick. However, it is important to ensure that the surface is clean, dry, and smooth before installation. If the surface is rough or uneven, consider applying a layer of plywood as a base before installing the planks.
3. How do I maintain wood wall planks?
Maintaining wood wall planks is relatively simple. Regularly dust the surface with a soft cloth or brush to remove any debris. Avoid using abrasive cleaners or harsh chemicals, as they can damage the wood. If the planks become scratched or scuffed, you can lightly sand and refinish them to restore their appearance.
Conclusion
In conclusion, installing wood wall planks can be a great way to add warmth and texture to any space. Whether you are a DIY enthusiast or hiring a professional, following a few steps will ensure a successful installation. First, measure and plan the layout of the planks to achieve the desired look. Then, prepare the wall surface by removing any existing wallpaper or paint and ensuring it is clean and smooth. Next, apply adhesive or use a nail gun to secure the planks to the wall. Finally, add finishing touches such as trim or sealant to complete the installation and protect the wood. With proper care and maintenance, your wood wall planks will bring beauty and charm to your home for years to come.