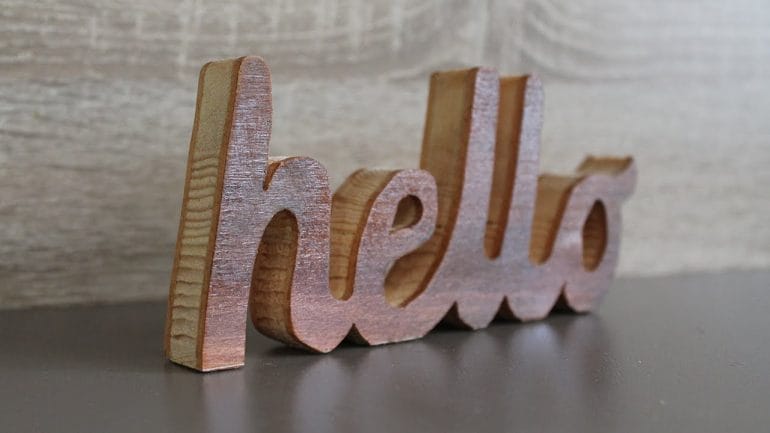
If you’re looking to add a personal touch to your woodworking projects, cutting letters out of wood can be a fantastic way to do it. Whether you want to create custom signage, personalized gifts, or unique home decor, cutting letters out of wood allows you to showcase your creativity and make a statement. In this guide, we’ll walk you through the steps on how to cut letters out of wood, so you can bring your designs to life.
First, you’ll need to choose the right type of wood for your project. Consider the thickness and durability you require, as well as the appearance you desire. Next, select a font or lettering style that complements the overall design. Once you have your wood and font chosen, you can either freehand draw the letters onto the wood or use stencils or templates for a more precise result.

Next, gather the necessary tools for the job. This may include a jigsaw, scroll saw, or handheld coping saw to cut out the letters. Additionally, you’ll need sandpaper or a sanding block to smooth out any rough edges. Safety goggles and a dust mask are also essential to protect yourself from flying wood particles and dust.
Now it’s time to start cutting. Begin by securing the wood firmly in place to prevent any movement while you work. Use a steady hand and follow the lines of the letters carefully. Take your time and make precise cuts to achieve the desired shape
Choosing the Right Wood for Letter Cutting Projects
When it comes to letter cutting projects, choosing the right wood is essential. The type of wood you select will not only affect the overall appearance of your finished piece, but also its durability and ease of carving. In this section, we will discuss the different types of wood that are commonly used for letter cutting projects and provide guidance on how to choose the best wood for your specific needs.
1. Hardwoods
Hardwoods are often the preferred choice for letter cutting projects due to their strength and durability. They are less prone to warping or cracking, making them ideal for outdoor signage or pieces that will be exposed to the elements. Some popular hardwood options for letter cutting include:
- Oak: Oak is a classic choice for letter cutting projects. It is known for its beautiful grain patterns and strength.
- Maple: Maple is a dense wood with a light color and a smooth finish. It is often used for intricate letter carving.
- Mahogany: Mahogany is a rich, reddish-brown hardwood that is prized for its beauty and workability.
- Cherry: Cherry wood has a warm, reddish hue and a smooth texture. It is popular for both indoor and outdoor letter cutting projects.
2. Softwoods
Softwoods are another option for letter cutting projects, although they are generally less durable than hardwoods. They can be easier to carve and are often more affordable, making them a popular choice for beginners or for projects that won’t be exposed to harsh conditions. Some common softwoods used for letter cutting include:
- Pine: Pine is a softwood with a light color and a straight grain. It is popular for rustic and weathered-looking lettering.
- Cedar: Cedar is a softwood that is known for its natural resistance to decay and insect damage. It is often used for outdoor signage.
- Fir: Fir is a softwood with a straight grain and a pale color. It is commonly used for sign making and letter cutting projects.
3. Exotic Woods
If you’re looking for something unique and eye-catching, you may consider using exotic woods for your letter cutting projects. Exotic woods come in a wide range of colors and grain patterns, which can add a distinctive touch to your finished piece. Some popular exotic woods for letter cutting include:
- Wenge: Wenge is a dark, rich wood with striking black and brown grain patterns. It is often used for high-end letter cutting projects.
- Zebrawood: Zebrawood gets its name from its distinct striped appearance. It has a light color with dark brown or black stripes and is commonly used for decorative lettering.
- Padauk: Padauk is a vibrant, reddish-orange wood that adds a pop of color to letter cutting projects. It is highly valued for its unique hue.
When choosing the right wood for your letter cutting project, consider factors such as the intended use, the desired aesthetic, and the level of carving detail. It’s also a good idea to test the wood’s hardness and workability before committing to a larger project. With the right wood selection, you can create beautiful and durable letter cutting pieces that will stand the test of time.
Step-by-Step Guide to Cutting Letters out of Wood
Wooden letters can add a personal touch to any project or decor. Whether you want to create a custom sign, monogram, or a unique piece of art, cutting letters out of wood is a fun and rewarding DIY project. In this step-by-step guide, we will walk you through the process of cutting letters out of wood.
Materials Needed:
- Wood board
- Letter templates or stencils
- Pencil or marker
- Scroll saw or jigsaw
- Sandpaper
- Clamps
- Safety goggles and gloves
Step 1: Choose your Wood
Start by selecting the type of wood you want to use for your letters. Consider the overall look and feel you want to achieve. Hardwoods like oak or maple are durable and give a more polished finish, while softwoods like pine or cedar are easier to work with and have a rustic charm.
Step 2: Prepare the Wood
Measure and mark the dimensions of your letters on the wood board using a ruler and pencil or marker. Make sure the wood is securely clamped to a workbench or table to prevent it from moving during the cutting process.
Step 3: Transfer the Letter Design
If you have letter templates or stencils, position them on the wood and trace around the edges using a pencil or marker. Alternatively, you can print out your desired letter fonts on paper and cut them out to use as templates.
Step 4: Cut the Letters
Put on your safety goggles and gloves to protect yourself from any potential wood debris. Using a scroll saw or jigsaw, carefully cut along the traced lines of each letter. Take your time and make slow, steady movements to ensure accuracy.
Step 5: Sand and Smooth
Once all the letters are cut out, use sandpaper to smooth the rough edges and surfaces. Start with coarse-grit sandpaper and gradually move to finer grits for a polished finish. Sand in the direction of the wood grain to avoid scratching the surface.
Step 6: Finish and Seal
If desired, you can apply a finish or sealant to protect the wood and enhance its appearance. Options include varnish, paint, or wood stains. Follow the manufacturer’s instructions for the chosen finish and allow it to dry completely before handling or displaying your wooden letters.
Step 7: Display and Enjoy
Now that your wooden letters are cut, sanded, and finished, it’s time to display them and enjoy the fruits of your labor. You can attach them to a signboard, mount them on a wall, or incorporate them into any other creative project you have in mind.
With this step-by-step guide, you can easily create custom wooden letters to add a personal touch to your home decor or gifts. Remember to prioritize safety by wearing protective gear when working with power tools and always handle sharp objects with caution. Have fun exploring your creativity and enjoy the process of bringing your letter designs to life!
Tips for Achieving Clean and Precise Letter Cuts in Wood
Woodworking projects often involve adding decorative elements such as letters to personalize the piece. Whether you are adding a nameplate, carving initials, or creating intricate designs, achieving clean and precise letter cuts in wood can make a significant difference in the overall aesthetic appeal of your project. Here are some valuable tips to help you achieve precise and professional-looking letter cuts in wood.
1. Choose the Right Wood
When it comes to letter carving, the choice of wood is crucial. Opt for hardwoods such as maple, walnut, or cherry, as they offer better stability and are less prone to splintering or tear-out during the cutting process. Avoid softwoods like pine, as they tend to have a greater tendency to chip or break when carving intricate details.
2. Use a Sharp Chisel
A sharp chisel is essential for achieving clean and precise letter cuts. Dull chisels can cause tear-out and result in rough edges. Regularly sharpen your chisels to maintain their cutting efficiency. A honing guide can help you achieve the correct bevel angle and maintain a sharp edge.
3. Practice Proper Technique
Mastering the correct carving technique is vital for achieving clean and precise letter cuts. Start by outlining the letters lightly with a pencil or a fine-tip marker. Then, using your chisel, make shallow cuts along the lines, gradually deepening them as you progress. Work with the grain of the wood to minimize the risk of tear-out.
4. Take Your Time
Rushing the carving process can lead to mistakes and inaccuracies. Take your time and work slowly and steadily, especially when carving intricate letters. Patience and attention to detail will ensure clean and precise cuts.
5. Use Supportive Materials
When working on small or delicate lettering, using supportive materials can help prevent breakage or chipping. Place a sacrificial board or piece of plywood underneath your workpiece to provide a solid backing. This will reduce the risk of the wood splitting or breaking during the carving process.
6. Practice on Scrap Wood
If you are new to letter carving or working with a complex design, it is always a good idea to practice on scrap wood first. This will allow you to refine your technique and get comfortable with the chisel before moving on to your final piece.
7. Sand and Finish
Once the letter cuts are complete, take the time to sand the surface of your wood to remove any rough edges or imperfections. Start with a coarse-grit sandpaper and gradually move to finer grits for a smooth finish. Apply a suitable finish to enhance the appearance and protect the wood.
8. Maintain Your Tools
Regular maintenance of your carving tools is essential for achieving clean and precise cuts. Keep your chisels sharp and in good condition by sharpening them regularly. Additionally, clean and oil your tools to prevent rust and ensure optimal performance.
In summary, achieving clean and precise letter cuts in wood requires choosing the right wood, using sharp chisels, practicing proper technique, taking your time, using supportive materials, practicing on scrap wood, sanding and finishing, and maintaining your tools. By following these tips, you can create beautifully carved letters that enhance the overall quality of your woodworking projects.
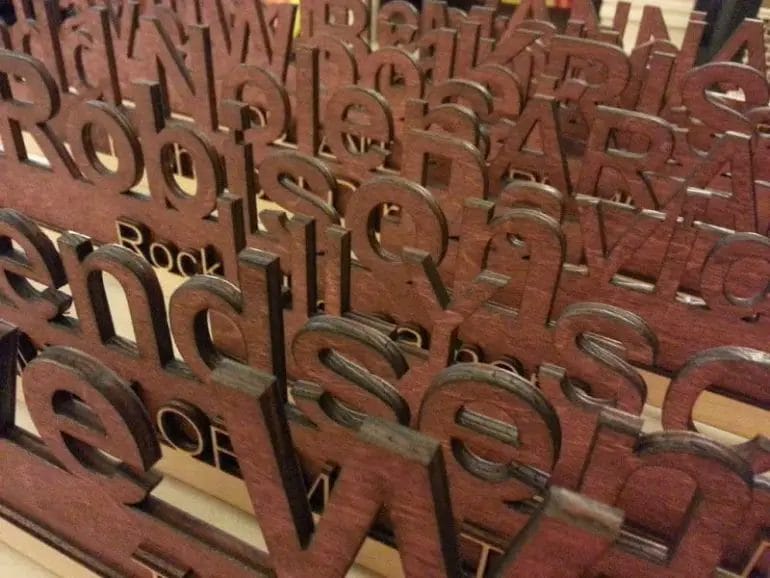
Creative Ideas for Using Wood Letters in Decorative Projects
Wooden letters are versatile and can be used in a variety of decorative projects. They add a touch of charm and personalization to any space. Whether you are looking to spruce up your home décor or create a thoughtful gift, here are some creative ideas for using wood letters:
1. Wall Art
Create a unique focal point in your home by using wood letters to spell out a word or phrase on your wall. You can choose to paint the letters in a solid color or add patterns and designs for a more intricate look. Arrange the letters in a way that is visually appealing and suits your personal style. This can be a fun and easy DIY project to transform any room.
2. Door Hangers
Add a personalized touch to your front door by hanging a wooden letter representing your family’s last name. This simple and elegant addition can make your house feel more welcoming and give it a custom look. You can customize the letter with paint, stain, or embellishments to match your home’s exterior or your personal taste.
3. Nursery or Children’s Room Decor
Wood letters are perfect for adding a whimsical touch to a nursery or children’s room. Spell out your child’s name above their crib or create a playful alphabet display on the wall. You can paint the letters in bright, cheerful colors and even add some unique elements like glitter or buttons. This not only adds a decorative element but also helps your child learn their letters.
4. Table Numbers
If you are hosting a special event such as a wedding or a party, wood letters can make for charming table numbers. Paint or decorate the letters in a style that matches your event theme and place them on the tables. This adds a personal touch to the décor and helps guests easily find their seats.
5. Gift Decorations
Wood letters can enhance the presentation of a gift. Attach a wooden letter to a ribbon or twine and use it to embellish a wrapped present. You can also use the letters to personalize gift tags or create custom gift boxes. This adds an extra level of thoughtfulness to your gift-giving.
6. Bookshelf or Mantel Décor
Add a touch of elegance to your bookshelf or mantel by incorporating wood letters into the display. You can spell out meaningful words or phrases that reflect your personality or values. Paint or stain the letters to match the overall color scheme of the space. This creates a visually appealing and personalized focal point in your home.
7. Garden or Outdoor Décor
Wood letters are also suitable for outdoor use. Paint or seal them with a weather-resistant finish and use them to label different areas of your garden or create signs for your outdoor space. This not only adds a decorative element but also helps keep your garden organized and visually appealing.
These are just a few creative ideas for using wood letters in decorative projects. The possibilities are endless, and you can let your imagination run wild to create unique and personalized pieces that reflect your style and personality.
FAQs
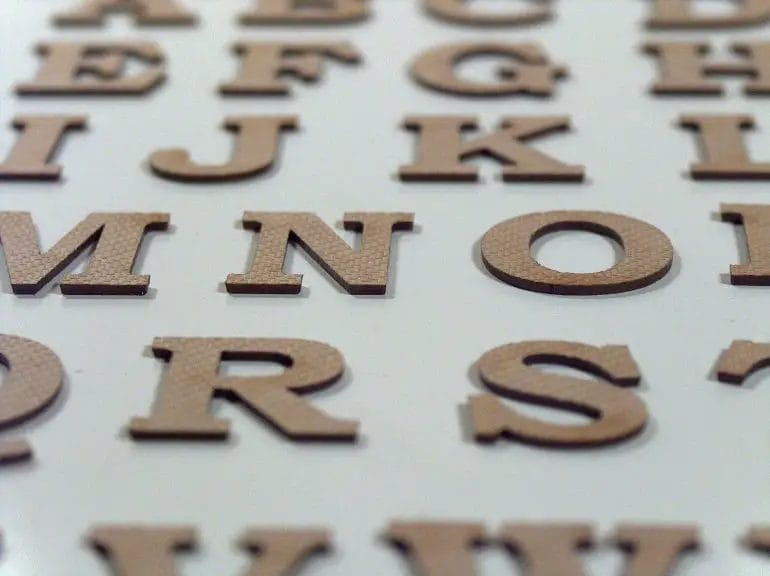
1. How can I cut letters out of wood?
To cut letters out of wood, you can use a few different methods. One common method is to use a scroll saw or a jigsaw with a fine-toothed blade. Another option is to use a laser cutter or a CNC machine if you have access to one. Additionally, you can use a handheld router with a letter template or stencil to guide your cuts.
2. What type of wood is best for cutting letters?
When cutting letters out of wood, it is best to use a hardwood like oak, maple, or birch. These types of wood are dense and have a smooth surface, making them easier to cut and providing a clean finish. Avoid using softwoods like pine, as they can be more prone to splintering.
3. What tools do I need to cut letters out of wood?
To cut letters out of wood, you will need a few essential tools. These include a saw (scroll saw or jigsaw), fine-toothed blades, sandpaper or a sander for finishing, clamps to secure the wood, and a letter template or stencil (if using a router). Safety equipment such as goggles and ear protection are also recommended.
Conclusion
In conclusion, learning how to cut letters out of wood can be a rewarding and creative skill to have. By following the right techniques and using the proper tools, you can achieve precise and professional results. Whether you want to create custom signs, personalize gifts, or add a unique touch to your woodworking projects, cutting letters out of wood allows you to bring your ideas to life.
Remember to always prioritize safety when working with woodworking tools. Wear protective gear, such as goggles and gloves, and take your time to ensure smooth and accurate cuts. Practice regularly and experiment with different fonts and styles to develop your own signature letter-cutting technique.
With practice and patience, you’ll soon be able to create stunning wooden letters that will impress others and add a special touch to your creations. So, pick up your tools and start honing your woodcutting skills today!