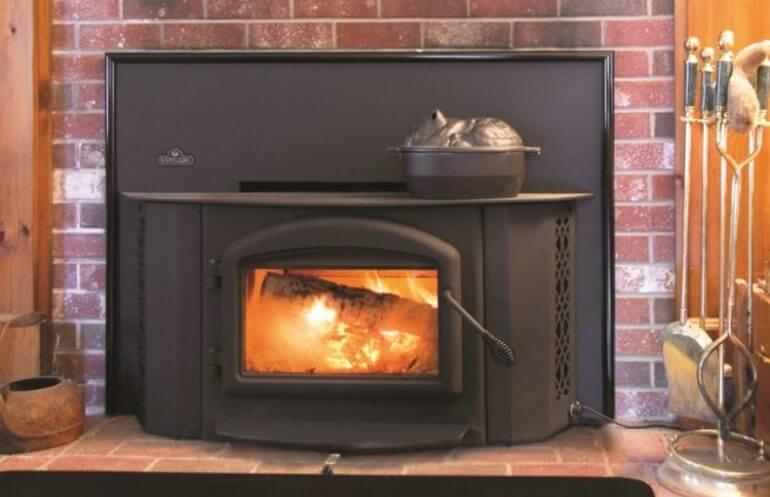
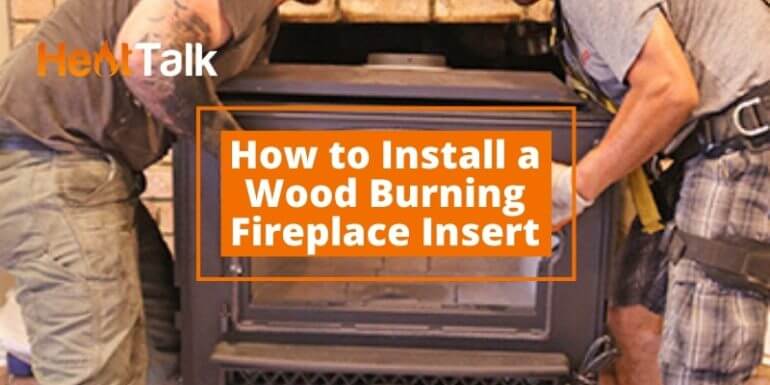
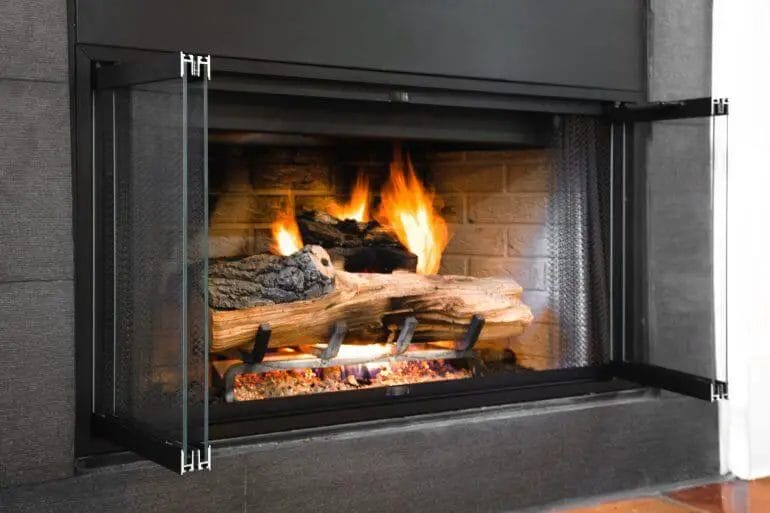
If you’re looking to enhance the warmth and coziness of your home, installing a wood burning fireplace insert is a fantastic choice. With their efficient design and rustic charm, these inserts can transform a traditional fireplace into an energy-efficient heating source. Plus, they add a touch of nostalgia and ambiance to any living space.
Installing a wood burning fireplace insert may seem like a daunting task, but with the right tools and guidance, it can be a straightforward process. In this guide, we’ll walk you through the steps to successfully install a wood burning fireplace insert, ensuring a safe and efficient heating solution for your home.

Before you begin the installation process, it’s crucial to gather all the necessary tools and materials. You’ll need a fireplace insert, a chimney liner kit, a fireproof hearth pad, a chimney cap, and various hand tools. It’s also essential to have a solid understanding of your existing fireplace’s dimensions, as these will determine the size and type of insert you’ll need.
Once you’ve gathered all the necessary supplies, the first step in the installation process is to carefully remove the existing fireplace grate and clean out any debris or ash. This will provide a clean and solid base for the new fireplace insert.
Next, you’ll need to install the chimney liner, which is a vital component for safe and efficient wood burning. The liner will help protect the flue walls from excessive heat and prevent the

Preparing the Installation Area for a Wood Burning Fireplace Insert
Installing a wood burning fireplace insert can be a great way to enhance the ambiance and warmth of your home. However, before you begin the installation process, it’s important to properly prepare the area where the insert will be installed. This will help ensure that the installation goes smoothly and that you can enjoy your fireplace insert safely and efficiently.
Gather the Necessary Tools and Materials
Before you start preparing the installation area, make sure you have all the necessary tools and materials. This will save you time and prevent any interruptions during the installation process. Some of the tools and materials you may need include:
- Tape measure
- Level
- Drill
- Screwdriver
- Hammer
- Chisel
- Fire-resistant insulation
- Fireplace surround materials
Clear the Area
Start by clearing the area around your existing fireplace or where you plan to install the fireplace insert. Remove any furniture, decorations, or other items that may be in the way. This will give you enough space to work and ensure that nothing gets damaged during the installation process.
Measure and Mark the Opening
Using a tape measure, carefully measure the dimensions of the opening where the fireplace insert will be installed. Take note of the width, height, and depth of the opening. Once you have the measurements, mark the dimensions on the surrounding walls to indicate the exact location and size of the opening.
Prepare the Fireplace Surround
If you plan to install a fireplace surround around the fireplace insert, now is the time to prepare it. Measure the dimensions of the surround and cut the necessary materials to size. This may include brick, stone, or other fire-resistant materials. Make sure the surround is properly secured and fits snugly around the fireplace insert opening.
Inspect the Chimney and Flue
Prior to installing the fireplace insert, it’s important to inspect the chimney and flue to ensure they are in good condition. Check for any cracks, blockages, or signs of damage. If you notice any issues, it’s recommended to consult a professional chimney sweep or fireplace installer to address them before proceeding with the installation.
Install Fire-Resistant Insulation
To optimize the efficiency and safety of your wood burning fireplace insert, it’s crucial to install fire-resistant insulation. This insulation helps prevent heat from escaping and protects surrounding materials from excessive heat. Carefully insert the insulation into any gaps or spaces around the fireplace insert opening, ensuring a tight and secure fit.
Level the Insert
Using a level, check that the fireplace insert is level both horizontally and vertically. Adjust the positioning as necessary to ensure a balanced and secure installation. This step is important to ensure proper airflow and prevent any potential issues with the fireplace insert in the future.
Finalize the Installation Area
Before proceeding with the actual installation of the wood burning fireplace insert, take a final look at the installation area. Ensure that all measurements are accurate, the fireplace surround is properly secured, and the chimney and flue are in good condition. This will help guarantee a successful installation and a safe operating environment for your fireplace insert.
In summary, preparing the installation area for a wood burning fireplace insert involves gathering the necessary tools and materials, clearing the area, measuring and marking the opening, preparing the fireplace surround, inspecting the chimney and flue, installing fire-resistant insulation, leveling the insert, and finalizing the installation area. By following these steps, you can ensure a smooth and successful installation process and enjoy the warmth and beauty of your new fireplace insert.

Installing a Wood Burning Fireplace Insert: Step-by-Step Guide
Are you looking to upgrade your traditional fireplace to a more efficient and environmentally friendly option? Installing a wood burning fireplace insert is a great way to achieve that. Not only does it provide better heat output, but it also reduces the amount of smoke and pollutants released into the environment. In this guide, we will take you through the step-by-step process of installing a wood burning fireplace insert.
Step 1: Measure and Inspect the Existing Fireplace
The first step is to measure the dimensions of your existing fireplace. This will help you determine the size of the wood burning fireplace insert you need to purchase. Additionally, inspect the condition of the chimney and ensure it is in good working order. Look out for any cracks, blockages, or signs of damage that may need to be repaired before installation.
Step 2: Select the Right Wood Burning Fireplace Insert
Once you have measured the dimensions of your existing fireplace and ensured the chimney is in good condition, it’s time to select the right wood burning fireplace insert. Consider factors such as the size and design that will complement your home’s décor, as well as the heating capacity and efficiency ratings of the insert. Research different brands and models, read customer reviews, and consult with a fireplace professional if needed.
Step 3: Prepare the Fireplace
Clean the existing fireplace thoroughly, removing any debris or ash. If there are any combustible materials near the fireplace, make sure to clear them away to ensure safety during the installation process. It’s also recommended to put down a drop cloth or a protective covering to catch any dust or debris that may be generated during installation.
Step 4: Install the Chimney Liner
Installing a chimney liner is an essential part of the wood burning fireplace insert installation process. The liner helps to protect the chimney walls, improves draft, and ensures proper ventilation. Follow the manufacturer’s instructions to install the chimney liner correctly. Consider hiring a professional if you are not confident in doing it yourself.
Step 5: Position and Secure the Wood Burning Fireplace Insert
Carefully position the wood burning fireplace insert into the existing fireplace opening. Ensure it is centered and level. Follow the manufacturer’s instructions to secure the insert in place. This may involve attaching brackets, screws, or other fasteners. Double-check that the insert is securely installed before proceeding.
Step 6: Connect the Venting System
Connect the venting system to the wood burning fireplace insert. This typically involves attaching a stovepipe or vent pipe to the flue collar of the insert and extending it up the chimney. Make sure the venting system is properly sealed to prevent any leaks or drafts. Consult the manufacturer’s instructions for specific guidelines on connecting the venting system.
Step 7: Test and Inspect
Once everything is installed, it’s important to test and inspect the wood burning fireplace insert. Start by lighting a small fire to ensure proper airflow and draft. Monitor the smoke and make sure it is venting properly through the chimney. Check for any signs of smoke leakage or unusual odors. If any issues are detected, consult a professional for assistance.
Step 8: Enjoy Your New Wood Burning Fireplace Insert
Congratulations! You have successfully installed a wood burning fireplace insert. Now it’s time to sit back, relax, and enjoy the warmth and ambiance it brings to your home. Remember to follow proper maintenance and safety guidelines to ensure the continued efficiency and longevity of your wood burning fireplace insert.
In summary, installing a wood burning fireplace insert involves measuring and inspecting the existing fireplace, selecting the right insert, preparing the fireplace, installing the chimney liner, positioning and securing the insert, connecting the venting system, and testing and inspecting the final installation. By following this step-by-step guide, you can upgrade your traditional fireplace to a more efficient and environmentally friendly option.

Safety Measures for Operating a Wood Burning Fireplace Insert
Wood burning fireplace inserts are a great addition to any home, providing warmth, ambiance, and energy efficiency. However, it’s important to operate them safely to prevent accidents and ensure the well-being of your family and property. In this section, we will discuss some important safety measures to follow when using a wood burning fireplace insert.
1. Installation by a Professional
Before you start using a wood burning fireplace insert, it’s crucial to have it installed by a professional. A qualified technician will ensure that the insert is properly installed and meets all safety regulations. They will also ensure that the insert is correctly connected to the chimney and that there are no leaks or obstructions.
2. Regular Maintenance and Inspection
Regular maintenance and inspection of your wood burning fireplace insert are essential for its safe operation. It’s recommended to have a professional chimney sweep clean and inspect your insert at least once a year. They will remove any creosote buildup, inspect the insert for any damages or issues, and ensure that the chimney is clear of any debris or obstructions.
In addition to professional maintenance, it’s important to perform regular inspections yourself. Check for any cracks or damages in the insert, ensure that the door seals are intact, and inspect the chimney for any signs of damage or blockage. If you notice any issues, contact a professional for repairs before using the insert again.
3. Safe Fueling and Operation
When fueling your wood burning fireplace insert, make sure to use only dry, seasoned firewood. Wet or green wood can cause excessive smoke, creosote buildup, and reduced efficiency. Avoid using treated or painted wood, as they can release harmful chemicals when burned.
When operating the insert, make sure to follow the manufacturer’s instructions carefully. Never leave the fire unattended, and use a fire screen or glass door to prevent sparks and embers from escaping. Keep flammable materials at a safe distance from the insert, and never store flammable items on top of or near it.
4. Proper Ventilation
Proper ventilation is crucial for the safe operation of a wood burning fireplace insert. Make sure that the chimney is clear of any obstructions and that the damper is open before starting a fire. This will ensure that smoke and gases can safely exit the house.
It’s also important to provide adequate fresh air supply to the room when using the insert. This can be done by slightly opening a window or using an exterior air kit if available. Sufficient air supply will prevent the buildup of carbon monoxide and ensure a safe and efficient fire.
5. Carbon Monoxide and Smoke Detectors
Installing carbon monoxide and smoke detectors near your wood burning fireplace insert is essential for early detection of any potential dangers. Make sure to regularly check the batteries and test the detectors to ensure they are functioning properly. If a detector goes off, evacuate the house immediately and contact emergency services.
In summary, operating a wood burning fireplace insert safely requires proper installation, regular maintenance, safe fueling and operation, proper ventilation, and the installation of carbon monoxide and smoke detectors. By following these safety measures, you can enjoy the warmth and beauty of your fireplace insert while ensuring the safety of your home and loved ones.
Maintenance Tips for a Wood Burning Fireplace Insert
A wood burning fireplace insert is a great addition to any home, providing warmth, ambiance, and a cozy atmosphere. However, like any other appliance, it requires regular maintenance to ensure its efficiency and longevity. Here are some essential maintenance tips to keep your wood burning fireplace insert in top condition:
1. Clean the Chimney Regularly
One of the most important maintenance tasks for a wood burning fireplace insert is to clean the chimney regularly. Over time, creosote and soot can build up in the chimney, increasing the risk of chimney fires. Hire a professional chimney sweep to clean the chimney at least once a year, or more frequently if you use your fireplace frequently.
2. Inspect and Clean the Glass Door
The glass door of your wood burning fireplace insert can become dirty and cloudy due to smoke and ash. Regularly inspect the glass door and clean it using a fireplace glass cleaner and a soft cloth. Avoid using abrasive cleaners or scrubbing pads, as they can scratch the glass.
3. Empty and Clean the Ash Pan
After each use, empty the ash pan of your wood burning fireplace insert. Use a shovel to scoop out the ashes and dispose of them in a metal container. Avoid using a vacuum cleaner, as hot ashes can damage the vacuum. Clean the ash pan regularly to prevent the buildup of ash and debris.
4. Check the Firebricks and Gaskets
Inspect the firebricks inside your wood burning fireplace insert for any cracks or damage. Cracked firebricks can affect the efficiency of the fireplace and may need to be replaced. Additionally, check the gaskets around the door for any signs of wear or damage. Replace any worn-out gaskets to ensure a tight seal.
5. Schedule Professional Inspections
While regular maintenance tasks can help keep your wood burning fireplace insert in good condition, it is also important to schedule professional inspections. A professional technician can check for any underlying issues, such as chimney blockage or ventilation problems, and address them before they become major concerns.
6. Store and Season Firewood Properly
To ensure optimal performance of your wood burning fireplace insert, it is crucial to store and season firewood properly. Keep firewood in a dry and well-ventilated area, away from the elements. It is recommended to season firewood for at least six months before using it in your fireplace. Seasoned firewood burns more efficiently and produces less smoke and creosote.
7. Practice Safe Burning Practices
Lastly, practicing safe burning practices is essential for the maintenance of your wood burning fireplace insert. Use only dry and well-seasoned firewood, as wet or green wood can create excessive smoke and creosote buildup. Avoid burning materials other than wood, as they can release harmful chemicals and damage the appliance. Always use a fireplace screen or door to prevent sparks from escaping into the room.
In summary, regular maintenance of your wood burning fireplace insert is crucial for its efficient and safe operation. By following these maintenance tips, you can ensure that your fireplace insert provides warmth and enjoyment for years to come.
Frequently Asked Questions (FAQs)
1. How do I install a wood burning fireplace insert?
To install a wood burning fireplace insert, start by consulting the manufacturer’s instructions for specific guidance. Generally, the process involves clearing the existing fireplace, connecting the insert to the chimney, installing a liner if necessary, and making sure it is properly sealed. It is advisable to hire a professional for installation to ensure safety and compliance with local regulations.
2. Can I install a wood burning fireplace insert myself?
While it is possible to install a wood burning fireplace insert yourself, it is highly recommended to hire a professional for safety reasons. Proper installation involves several complex steps, including connecting the insert to the chimney, ensuring proper ventilation, and complying with local building codes. A professional can ensure that the installation is done correctly, minimizing the risk of fire hazards or damage.
3. Do I need a chimney for a wood burning fireplace insert?
Yes, a chimney is required for a wood burning fireplace insert. The insert needs a properly functioning chimney to vent the smoke and gases produced by the burning wood. It is essential to have the chimney inspected and cleaned before installing the insert to ensure optimal performance and safety. If you don’t have an existing chimney, you may need to install a new chimney liner or explore alternative venting options with the help of a professional.
Conclusion
In conclusion, installing a wood burning fireplace insert not only enhances the aesthetic appeal of your home but also adds warmth and efficiency to your living space. By following the step-by-step installation process, you can enjoy the benefits of a more eco-friendly and cost-effective heating solution. With the right tools and precautions, you can transform your existing fireplace into a high-efficiency heating appliance that reduces energy consumption and lowers your utility bills. Remember to consult a professional if unsure about any aspect of the installation process to ensure safety and proper functioning. Get ready to cozy up by the fire and enjoy the charm and comfort of a wood burning fireplace insert!